These last few weeks have been a rollercoaster ride! Lots of ups and downs, a wedding and birthday, travel and fun, mixed in with one head cold, a life changing diagnosis and the stomach flu:/ Oh, but I digress…. In the midst of the carnival ride that is my life, I had the opportunity to make a birthday cake for Jason.
Chocolate Ricotta Cake
Jason turned 46 this year and when I think of the 28 birthdays we’ve shared, there is one element that remains constant……No fuss. He’s just not into the fanfare, the parties and the singing (ok, maybe just a little). This year, created an added challenge, when he also happened to get a nasty cold. This would be a mellow celebration, if ever there was one!
My solution? I would bake Jason a simple birthday cake from scratch. Even if his poor taste buds were malfunctioning, I figured a cake could save the day:) I had made a fantastic cake last year using ricotta cheese and almond flour. This would be the perfect base for my gluten free chocolate cake! I decided to adapt the recipe and make it my own, with the addition of a finely grated chocolate bar and some raw cacao powder.
Dark Chocolate Bar
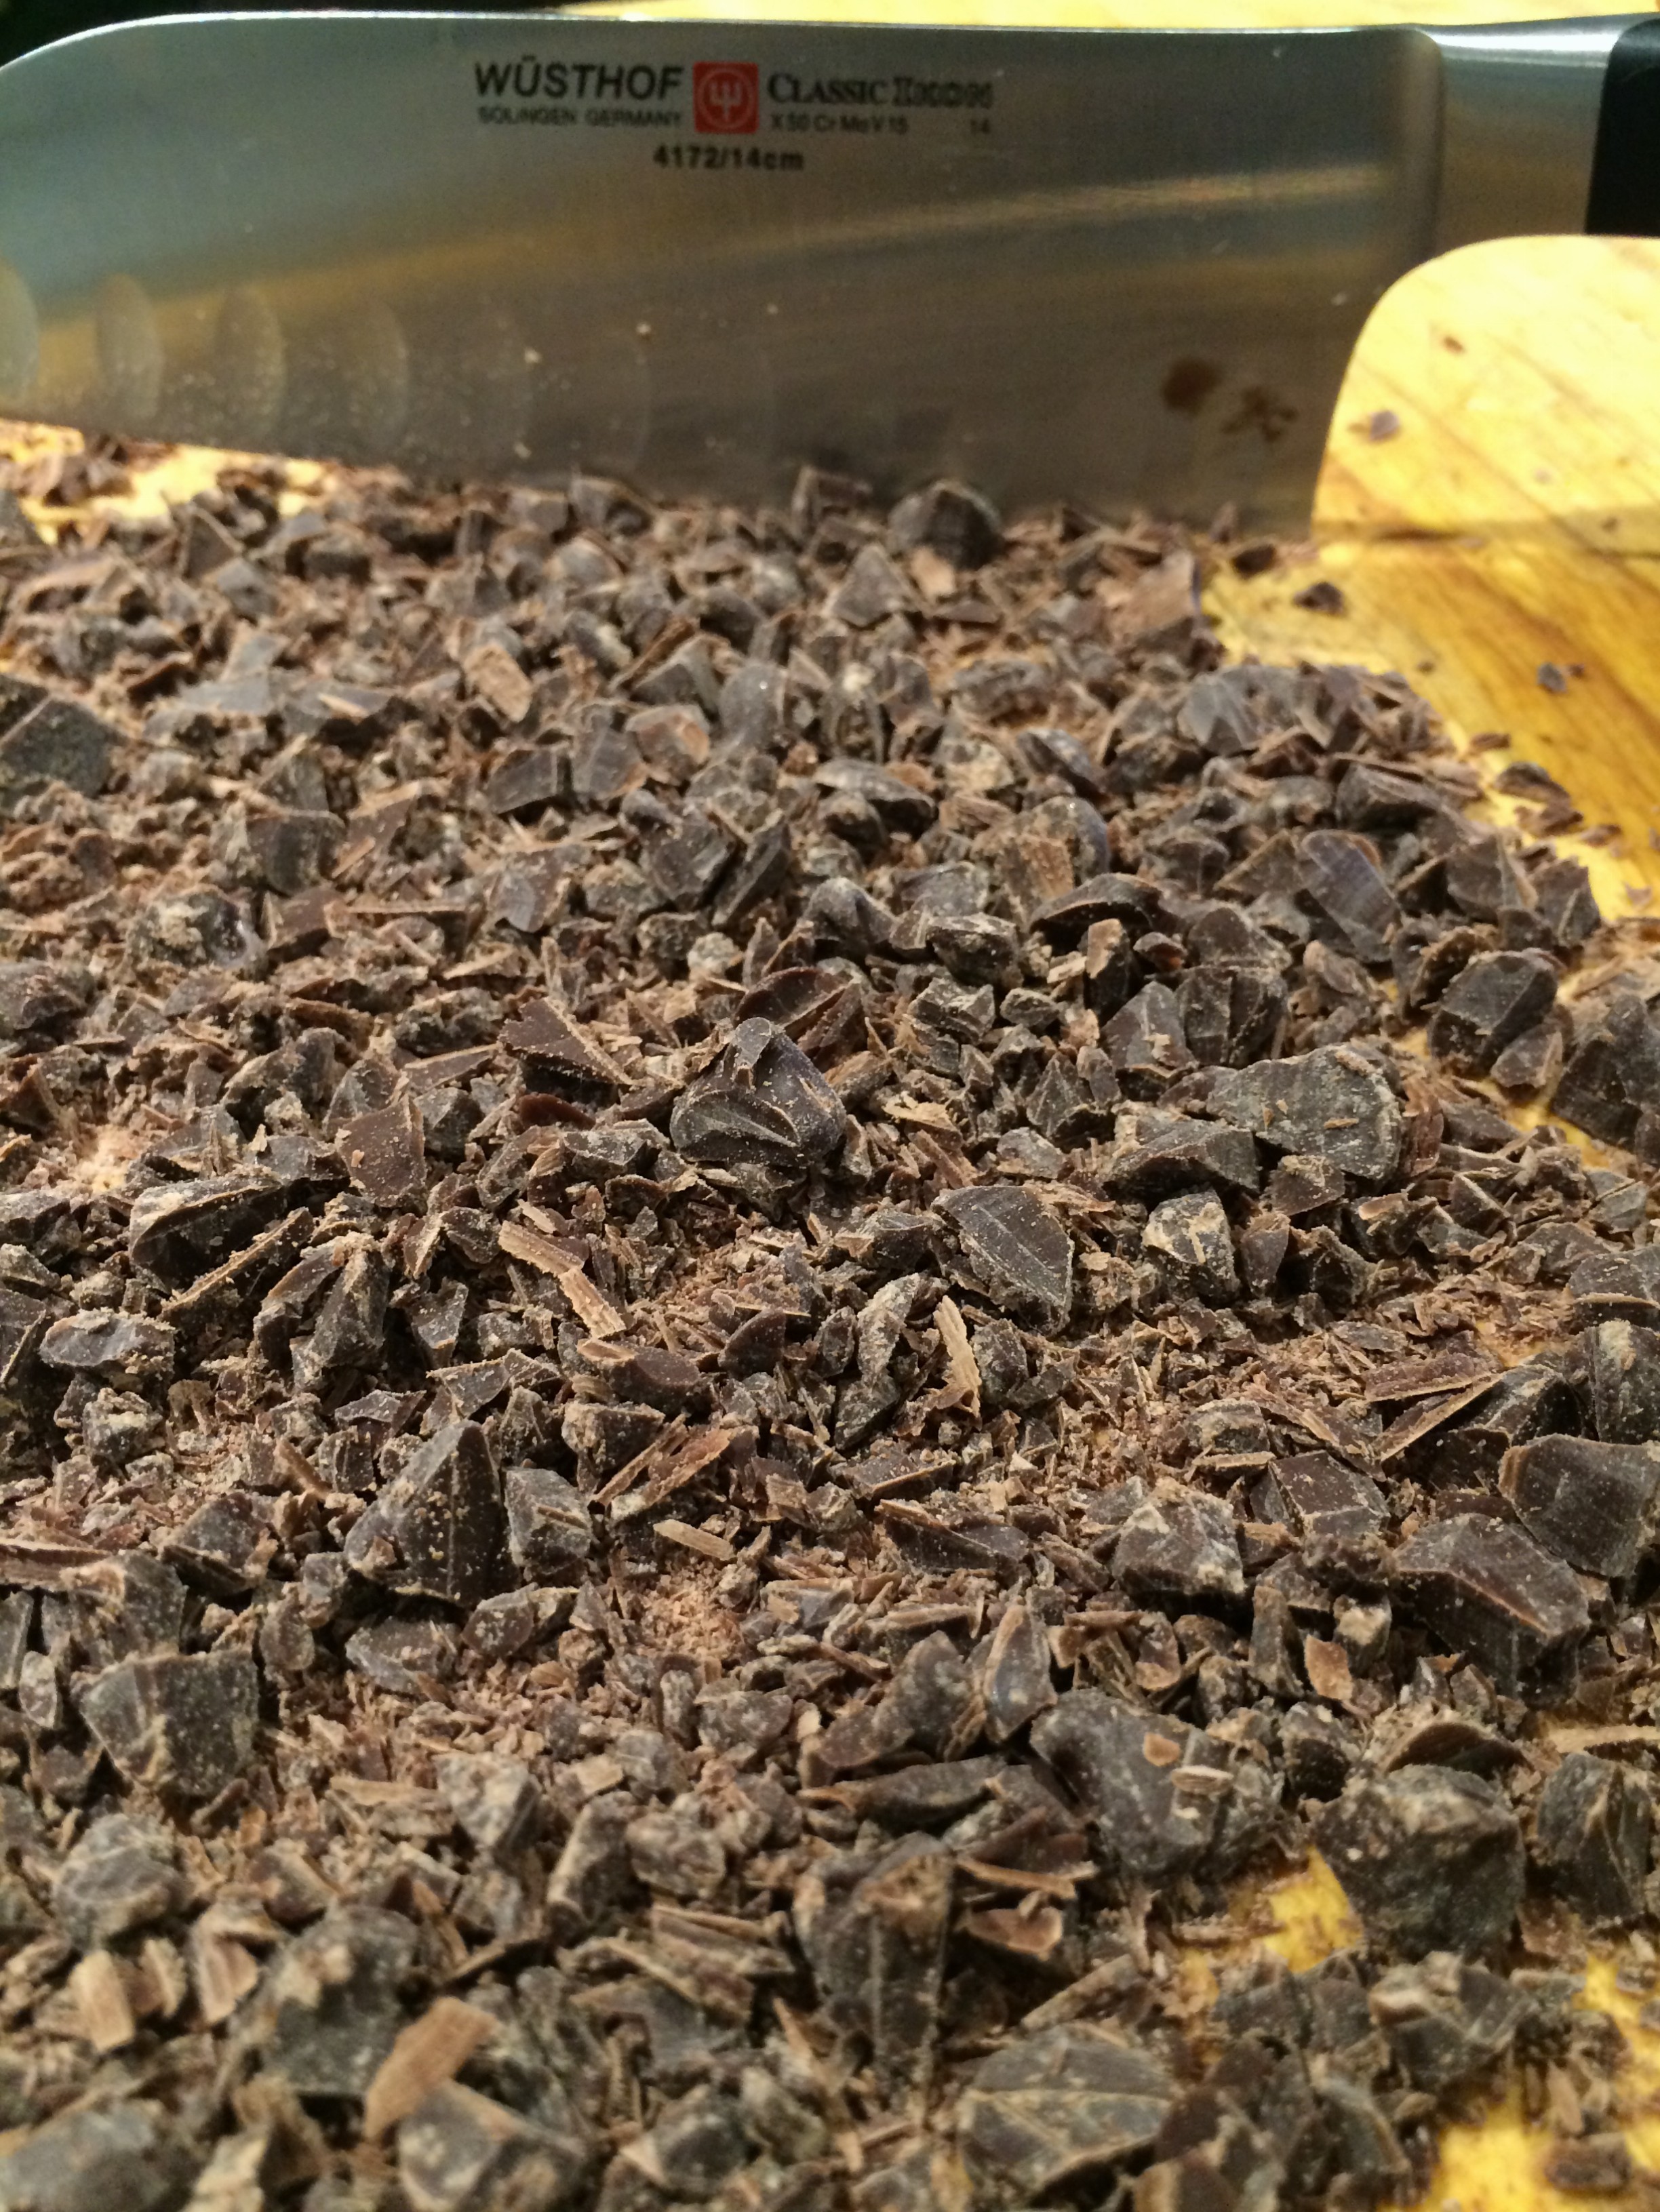
The key to infusing rich, chocolate flavor into the cake, is to use your favorite chocolate bar. I prefer 70% semisweet cacao, which is rich and dark. Because you are mixing the chocolate into a bland mix of ricotta and almond flour, the richness of the chocolate, is tempered. It creates a balanced and lighter batter. So, even if you are not a fan of dark chocolate, I would still recommend it!
Another important element is grating the chocolate as finely as possible. I have this lovely microplane grater, which is also ideal for citrus zest, garlic and hard cheeses.
Use a microplane for the finest, grated chocolate!
There is some patience required at this step, but it actually, only takes about 5 minutes of time! It’s so worth it, I promise! I also added a small amount of raw cacao powder to the mix. I recommend raw organic cacao.
Organic Cacao Powder
It’s worth spending the extra money. It’s potent, unsweetened and will last a long time!
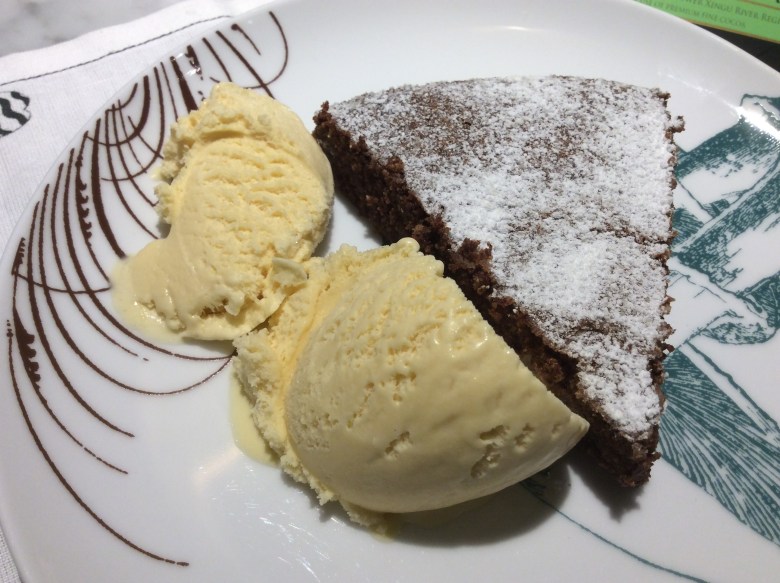
We were so excited to eat it, I barely let it cool. I added a small scoop and we enjoyed it warm. It was yummy and not too rich;) I even had it for breakfast the next day! So simple and delicious! Enjoy!
Chocolate and Ricotta Cake! Served warm with vanilla ice cream:)
Whisk the eggs and sugar for a few minutes and then add the almond meal. Add the melted butter to the mixture. Add the ricotta, mixing it well. Then add the brown rice flour, grated chocolate and cacao powder. Pour the batter into a greased pie dish and bake at 350 degrees for about 20-25 minutes. You can enjoy it warm or at room temperature. The flavors seem to be more rich and flavorful at room temperature. Store any leftovers in the refrigerator for up to 3 days! Enjoy!
I have been on a Mexican cooking adventure lately! Growing up in a large, Mexican American family, we celebrated Christmas with Mexican food. This food is integral to my upbringing and to how I continue to celebrate the holidays! Now that the holidays are over, I’d like to share with you this powerhouse cookie that you can enjoy, all year!
Mexican Feast!!
Tamales, enchiladas, pozole, beans…..yum! This year, it was just Jason and I celebrating Christmas Day, so I decided I needed a simple dessert that we could enjoy for at least a few days past the holiday. I decided to stick with the Mexican theme and make Mexican Chocolate Cookies. Something about the richness of the chocolate and the intensity of cayenne spice appealed to me. As an added bonus, chocolate is one of the easiest desserts to make gluten free!
I had found a couple good recipes on the internet in the last couple months, so I took a risk and combined them into my own recipe. The base of the cookie was simply almond flour (or any nut flour), cacao powder, cayenne, cinnamon, vanilla (Mexican, of course!), semisweet chocolate and caster sugar.
Mexican Chocolate Cookies
If you are not familiar with cacao, be sure to make sure to use this and NOT cocoa! It’s not the same!
Say yes to raw cacao powder!!
Raw cacao is made by cold pressing the un-roasted cacao beans, keeping the living enzymes intact and removing the fat. This helps to maintain the nutritional benefits, including the high antioxidant levels. It also allows you to be in control of the amount of sugar you use, be cause it is unsweetened. Also, be sure to use caster sugar. It’s super fine and helps keep the texture less chunky. I also added baking soda and baking powder, to help get the cookies to rise and an egg to moisten the dough. You might think that the one egg is insufficient, but it comes together quite nicely if you use your hands. Go ahead! No one is looking;)
Once the dough is fully incorporated, add the chocolate chips. I made the mistake of not chopping up my chocolate chips. I recommend chopping the chocolate chips up, as finely as possible.
Mix the dough with your hands!!
It will melt into the dough more uniformly and add a more gooey texture. Now, form your dough into a ball, cover it with plastic wrap and chill it in the refrigerator for at least a half an hour. One of the recipes that I read, included these instructions, so I’ve added them here….not sure if this is necessary, but they turned out yummy, so I’ll leave it up to you, if you decide not to include this step!
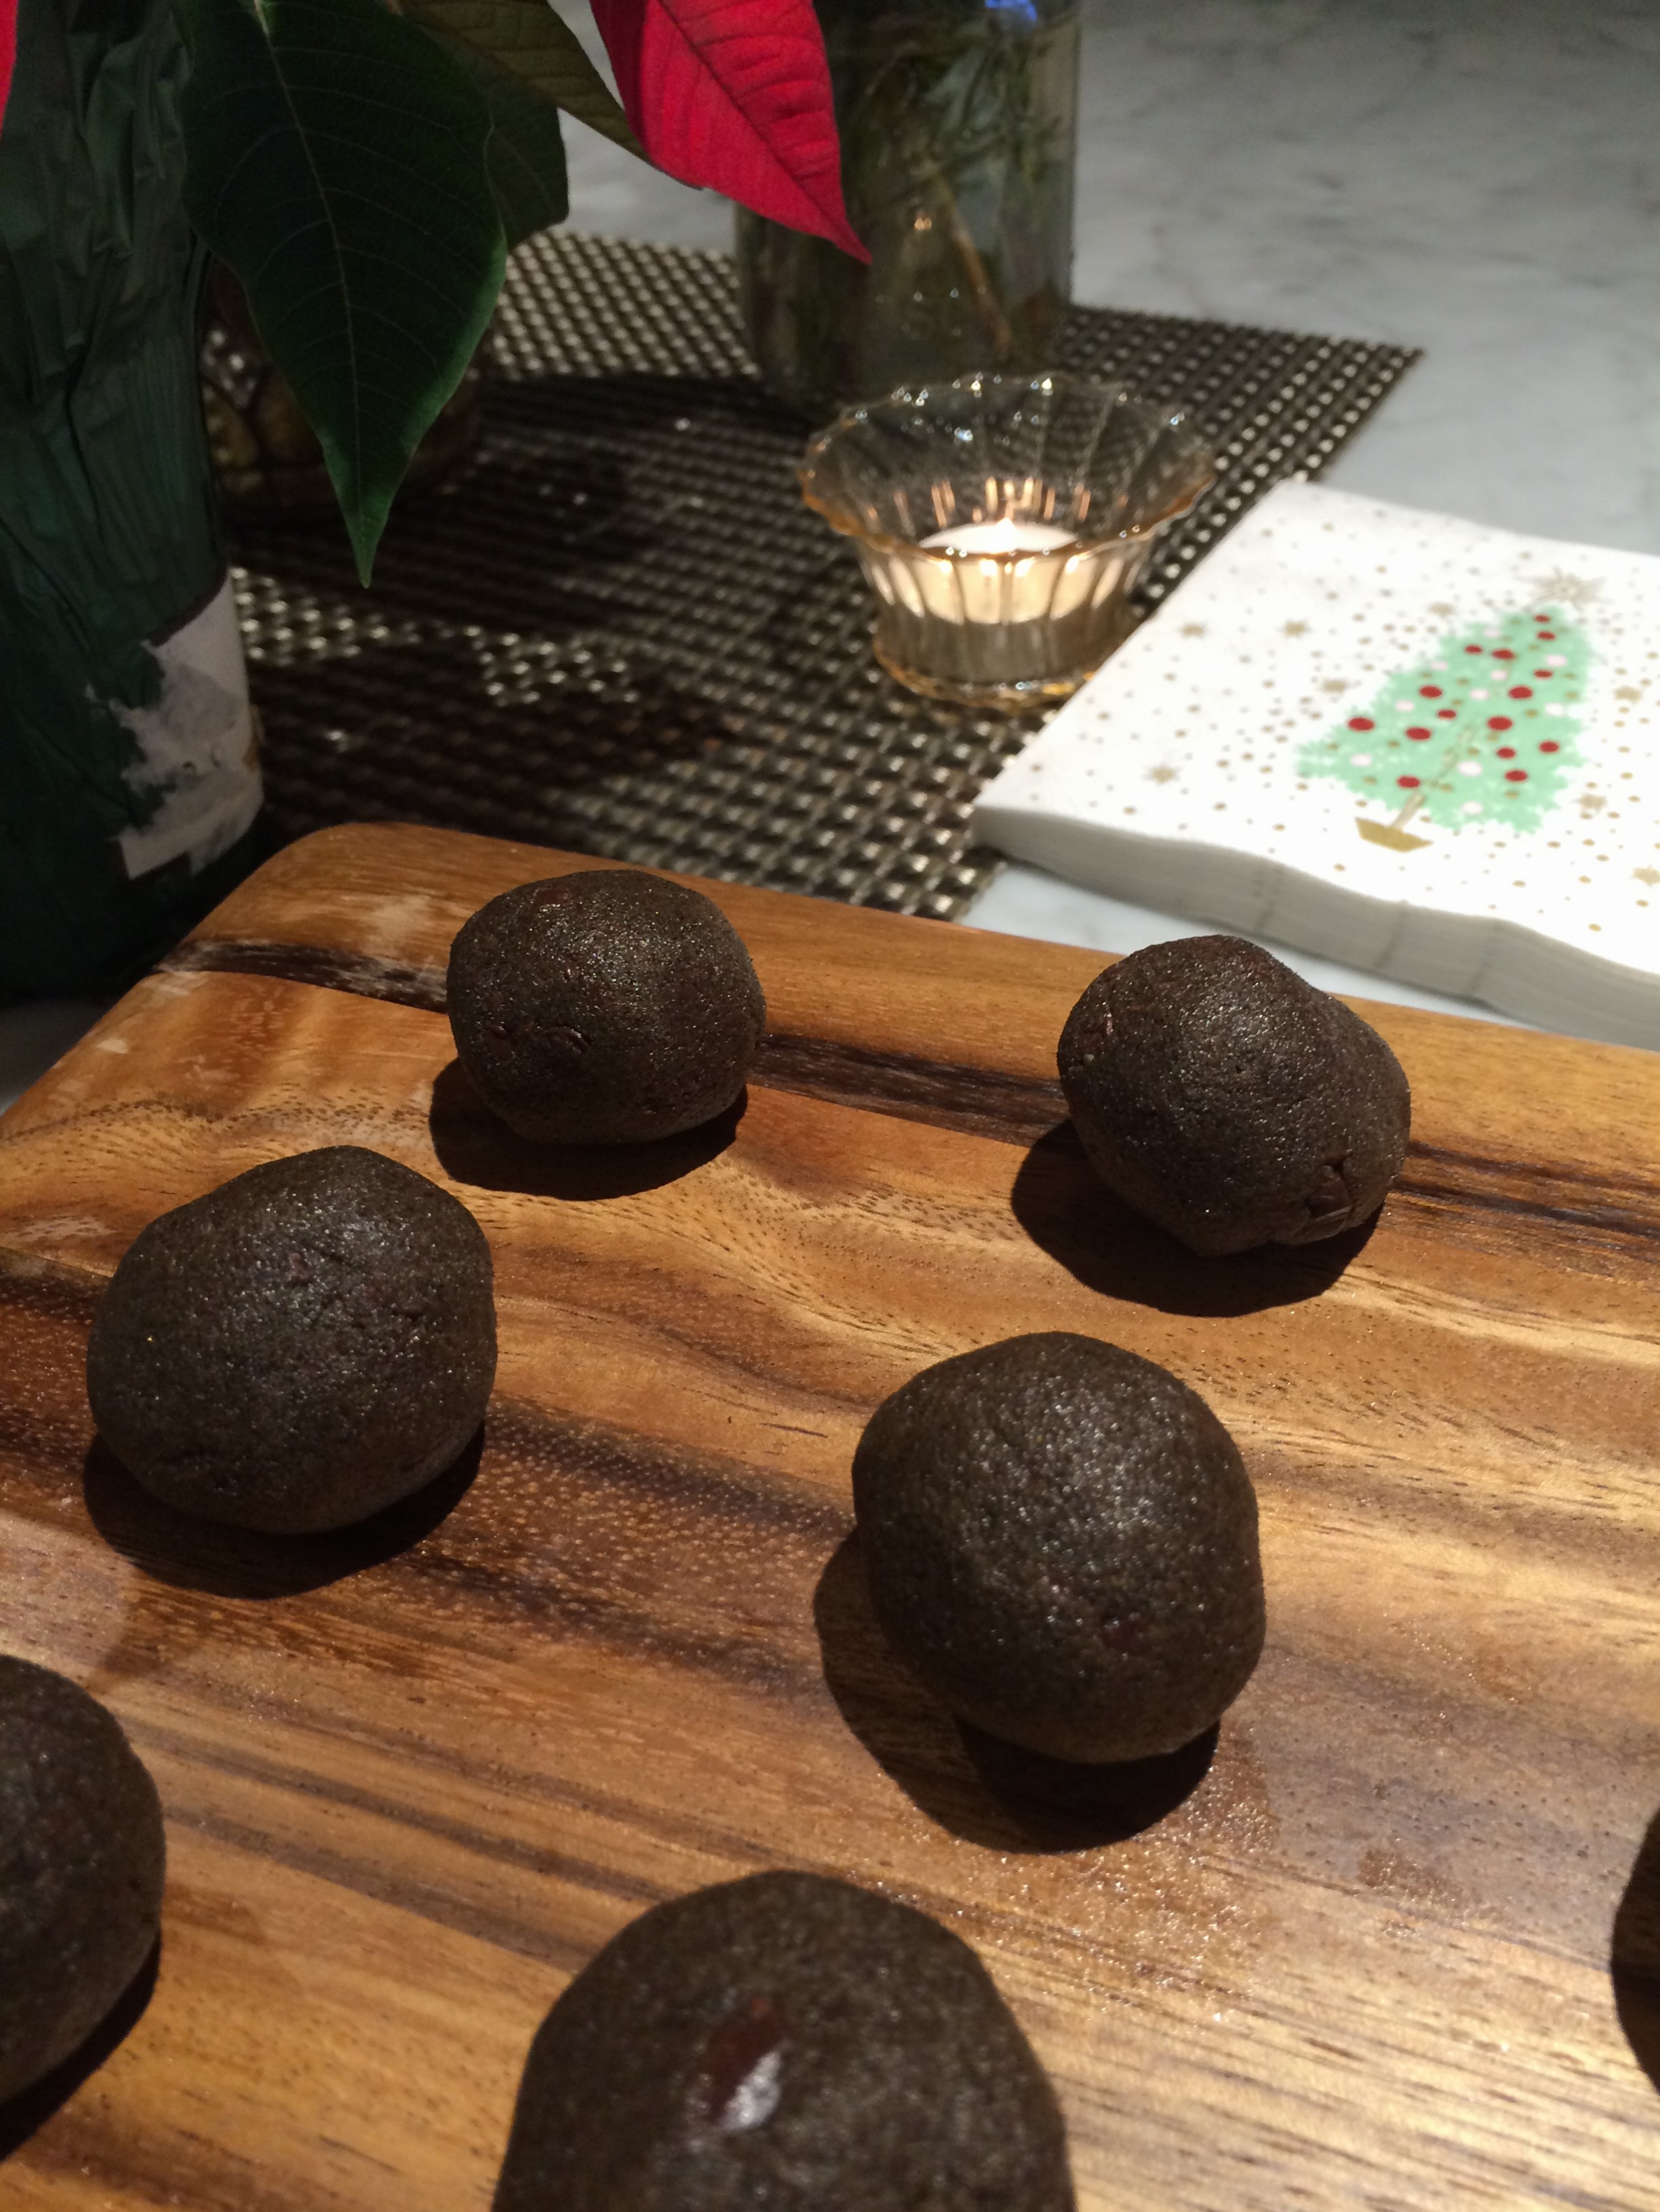
Once the dough is chilled, you can start measuring out large, tablespoon sized, balls of dough onto a parchment lined cookie sheet. You don’t want them to be too big. At this size, they cook up nicely. Also, considering their rich flavor, anything larger, might be overkill. Once they are lined up on the cookie sheet, you can gently press down on them to flatten them out. While you are in-between batches, be sure to keep the dough chilled:)
They only take 10 minutes or so to bake up. Straight out of the oven they are sublime. Rich, spicy with intense chocolate flavor, these are not for the faint of heart. Of course, you can tame them down a bit by using less cayenne or by using milkchocolate chips, but I urge you, to give these a try! I found them to be a medium spice level. My husband thought that they were mild. That being said, adjust accordingly!
Warm Mexican Chocolate Cookies with Coconut Ice-cream.
By serving them up warm with a scoop of vanilla or coconut ice cream, you can greatly reduce the heat level, as well! They keep well for days without getting to crispy.
Mexican Chocolate Cookies
Mexican Chocolate Cookies (GF, Grain Free)
2016-01-08 17:31:24
A rich and spicy adult cookie, best served warm, with a scoop of vanilla or coconut ice cream!!
1 1/2 cup almond flour or nut flour of your choice
3/4 cup raw cacao powder
2 tsp cinnamon
1/2 tsp cayenne powder
1/2 tsp baking soda
1 1/2 tsp baking powder
1 cup semi sweet chocolate chips, chopped
1 egg, beaten
1 TBS vanilla extract
Instructions
Mix all ingredients in a large bowl, using your hands to carefully blend. When dough is fully mixed, roll it into a large ball, cover with plastic wrap and refrigerate for at least 30 minutes. Preheat oven to 350 degrees. Scoop dough into hefty 1 TBS sized balls and place onto a parchment lined cookie sheet. Lightly flatten each cookie with the back of a spoon. Bake at 350 degrees for 10-13 minutes. Do not overcook. Enjoy warm with ice cream of your choice. Will keep, covered, for 5 days.
Notes
Adjust heat according to your preference, by reducing the amount of cayenne or using milk chocolate chips;)
Every year, for the Christmas holiday, my mom and grandmother would make a variety of beautiful and tasty cookies for us to enjoy during the holiday season. Mom would stack them high on beautiful platters, in the formal dining room, for us to enjoy. One of my favorite cookies is the jam thumbprints cookies. This season, my goal was to try to recreate them, into a GF version. I found this simple recipe from A Sweet Spoonful while searching Pinterest. As always, I feel that simple ingredients make the best foods, so I gave it a try, with a few adaptions.
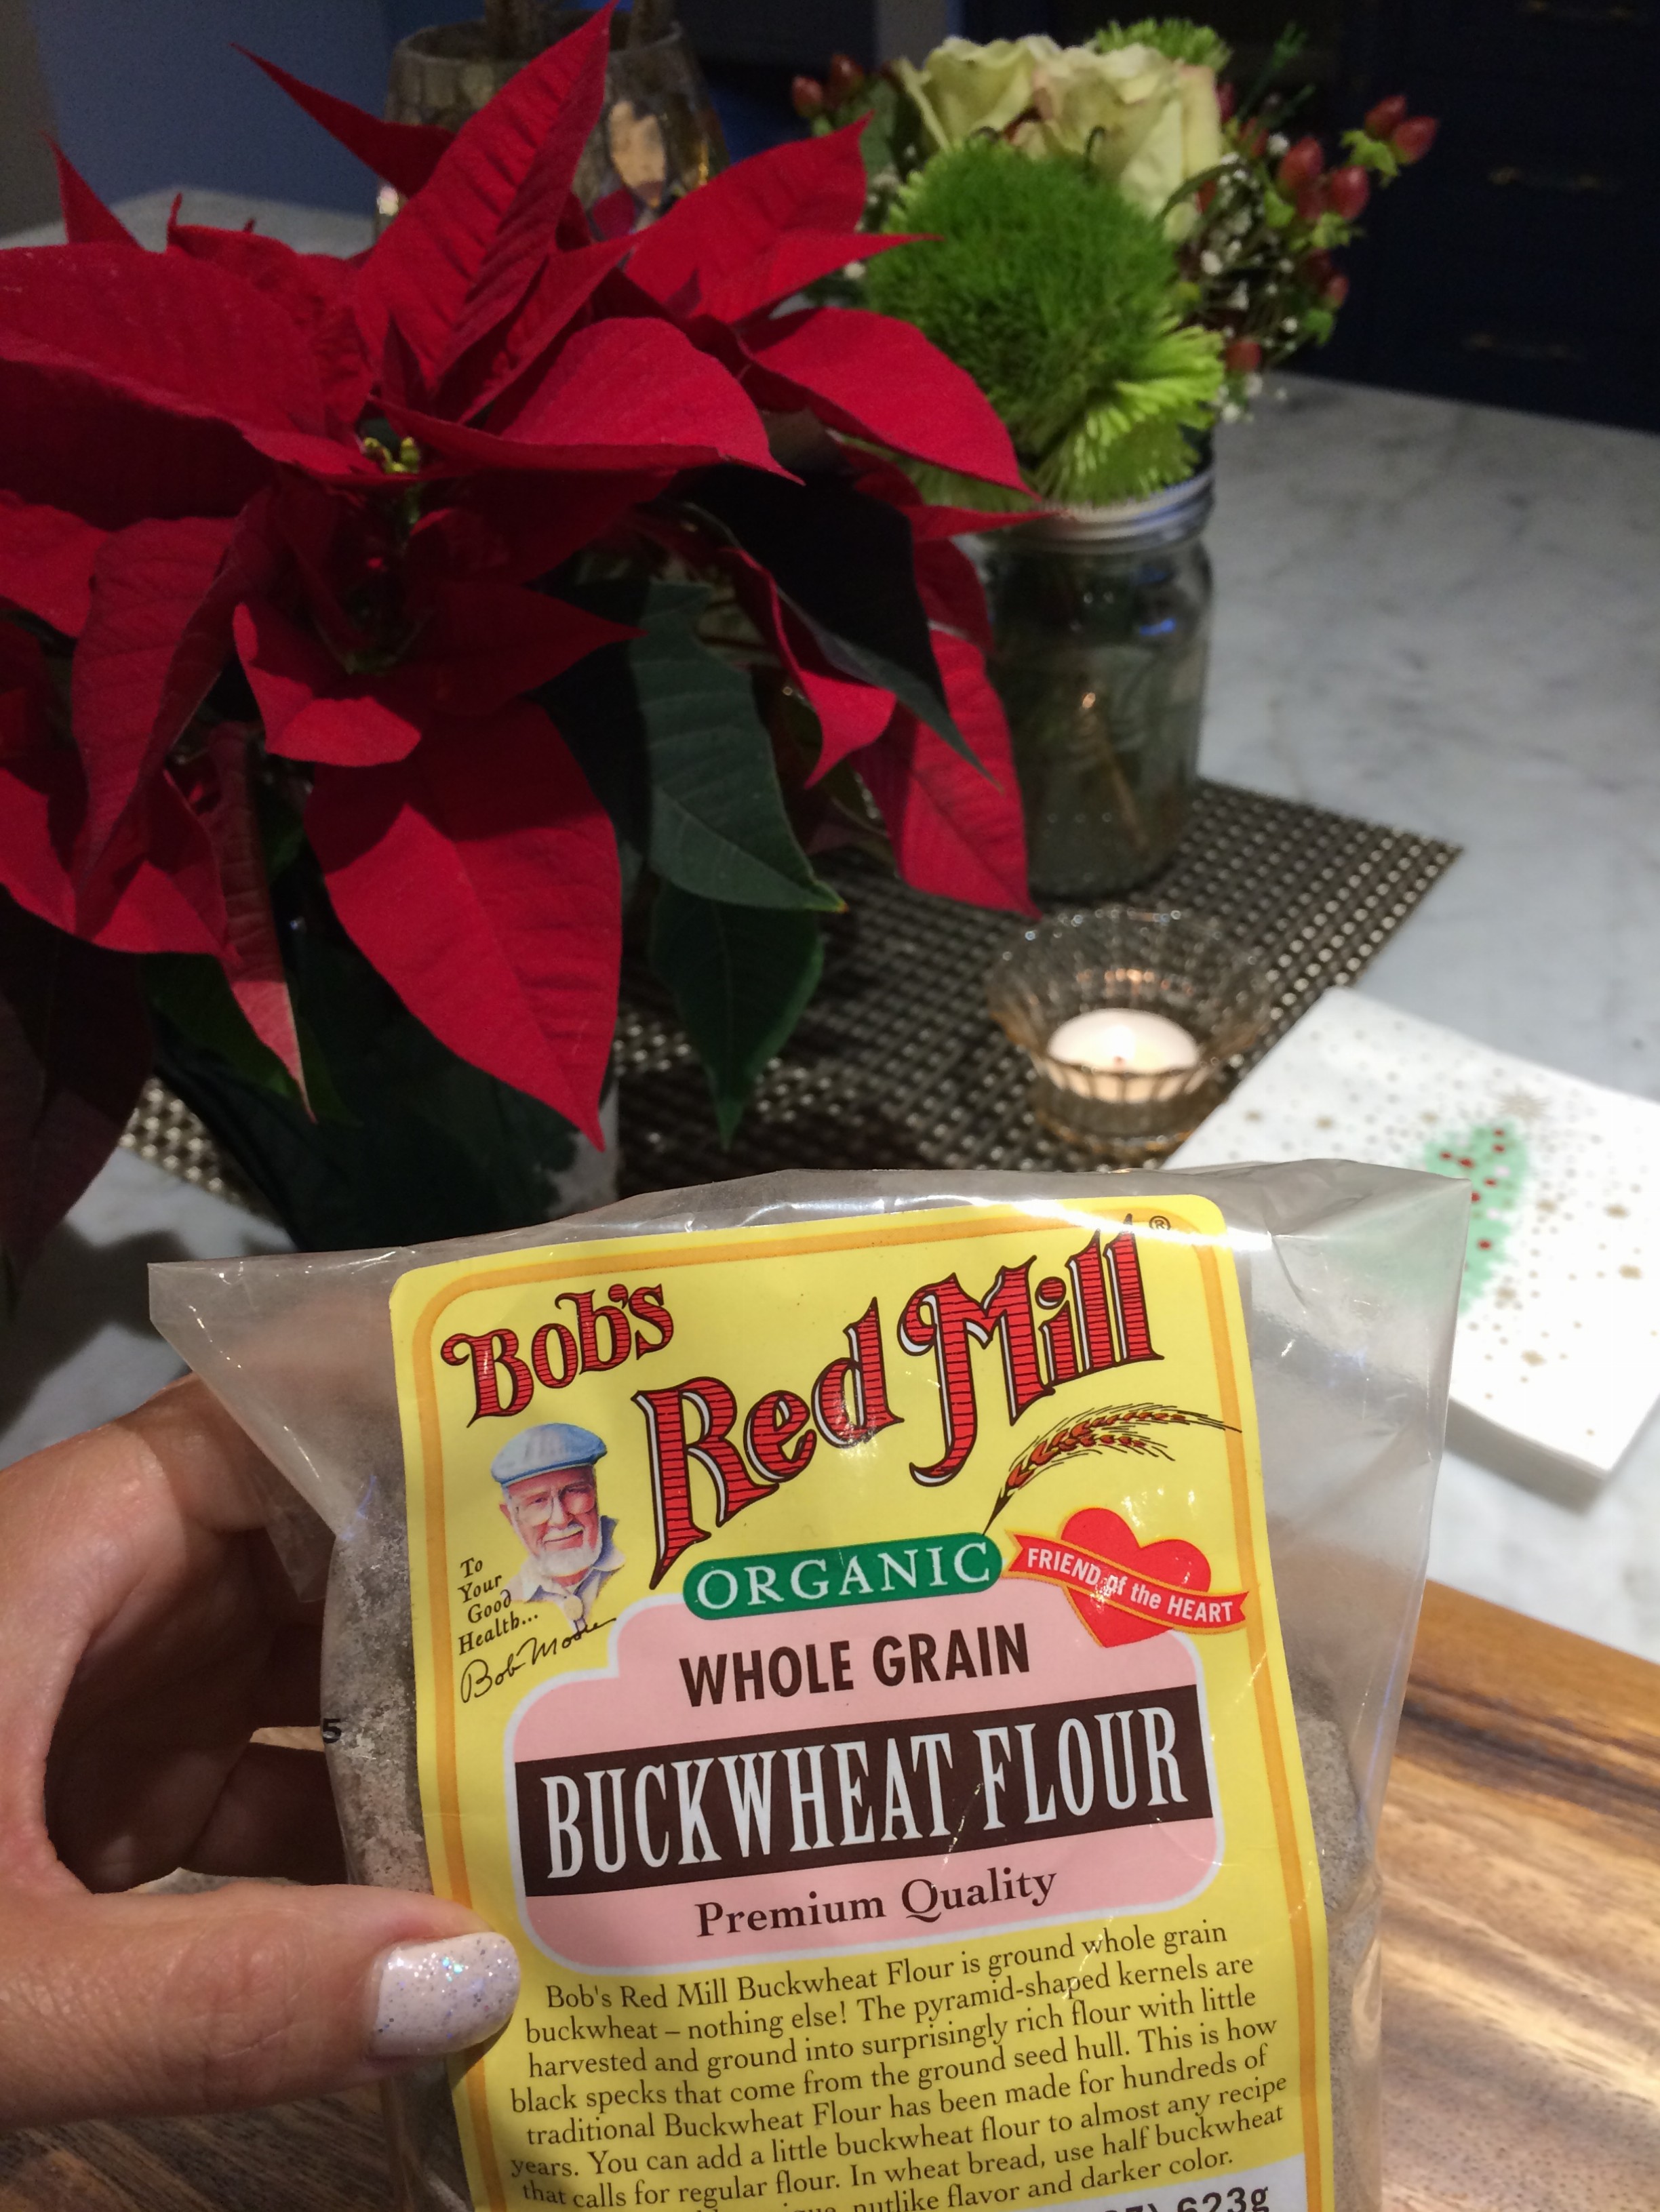
Buckwheat Flour
The base of these cookies is buckwheat flour. This earthy, nutty flour has a slightly grainy texture, almost sandy and is naturally GF.
Chopped up chocolate chips!
Since the only moisture in the batter comes from the butter and egg yolks, I decided to add chopped up chocolate chips to the batter, to distribute more oil and hopefully, promote more moisture into the cookie.
Maple Syrup!
I also used maple syrup, instead of sugar, to boost the moisture content. I used my hands to incorporate all of the ingredients. The dough turned out perfect.
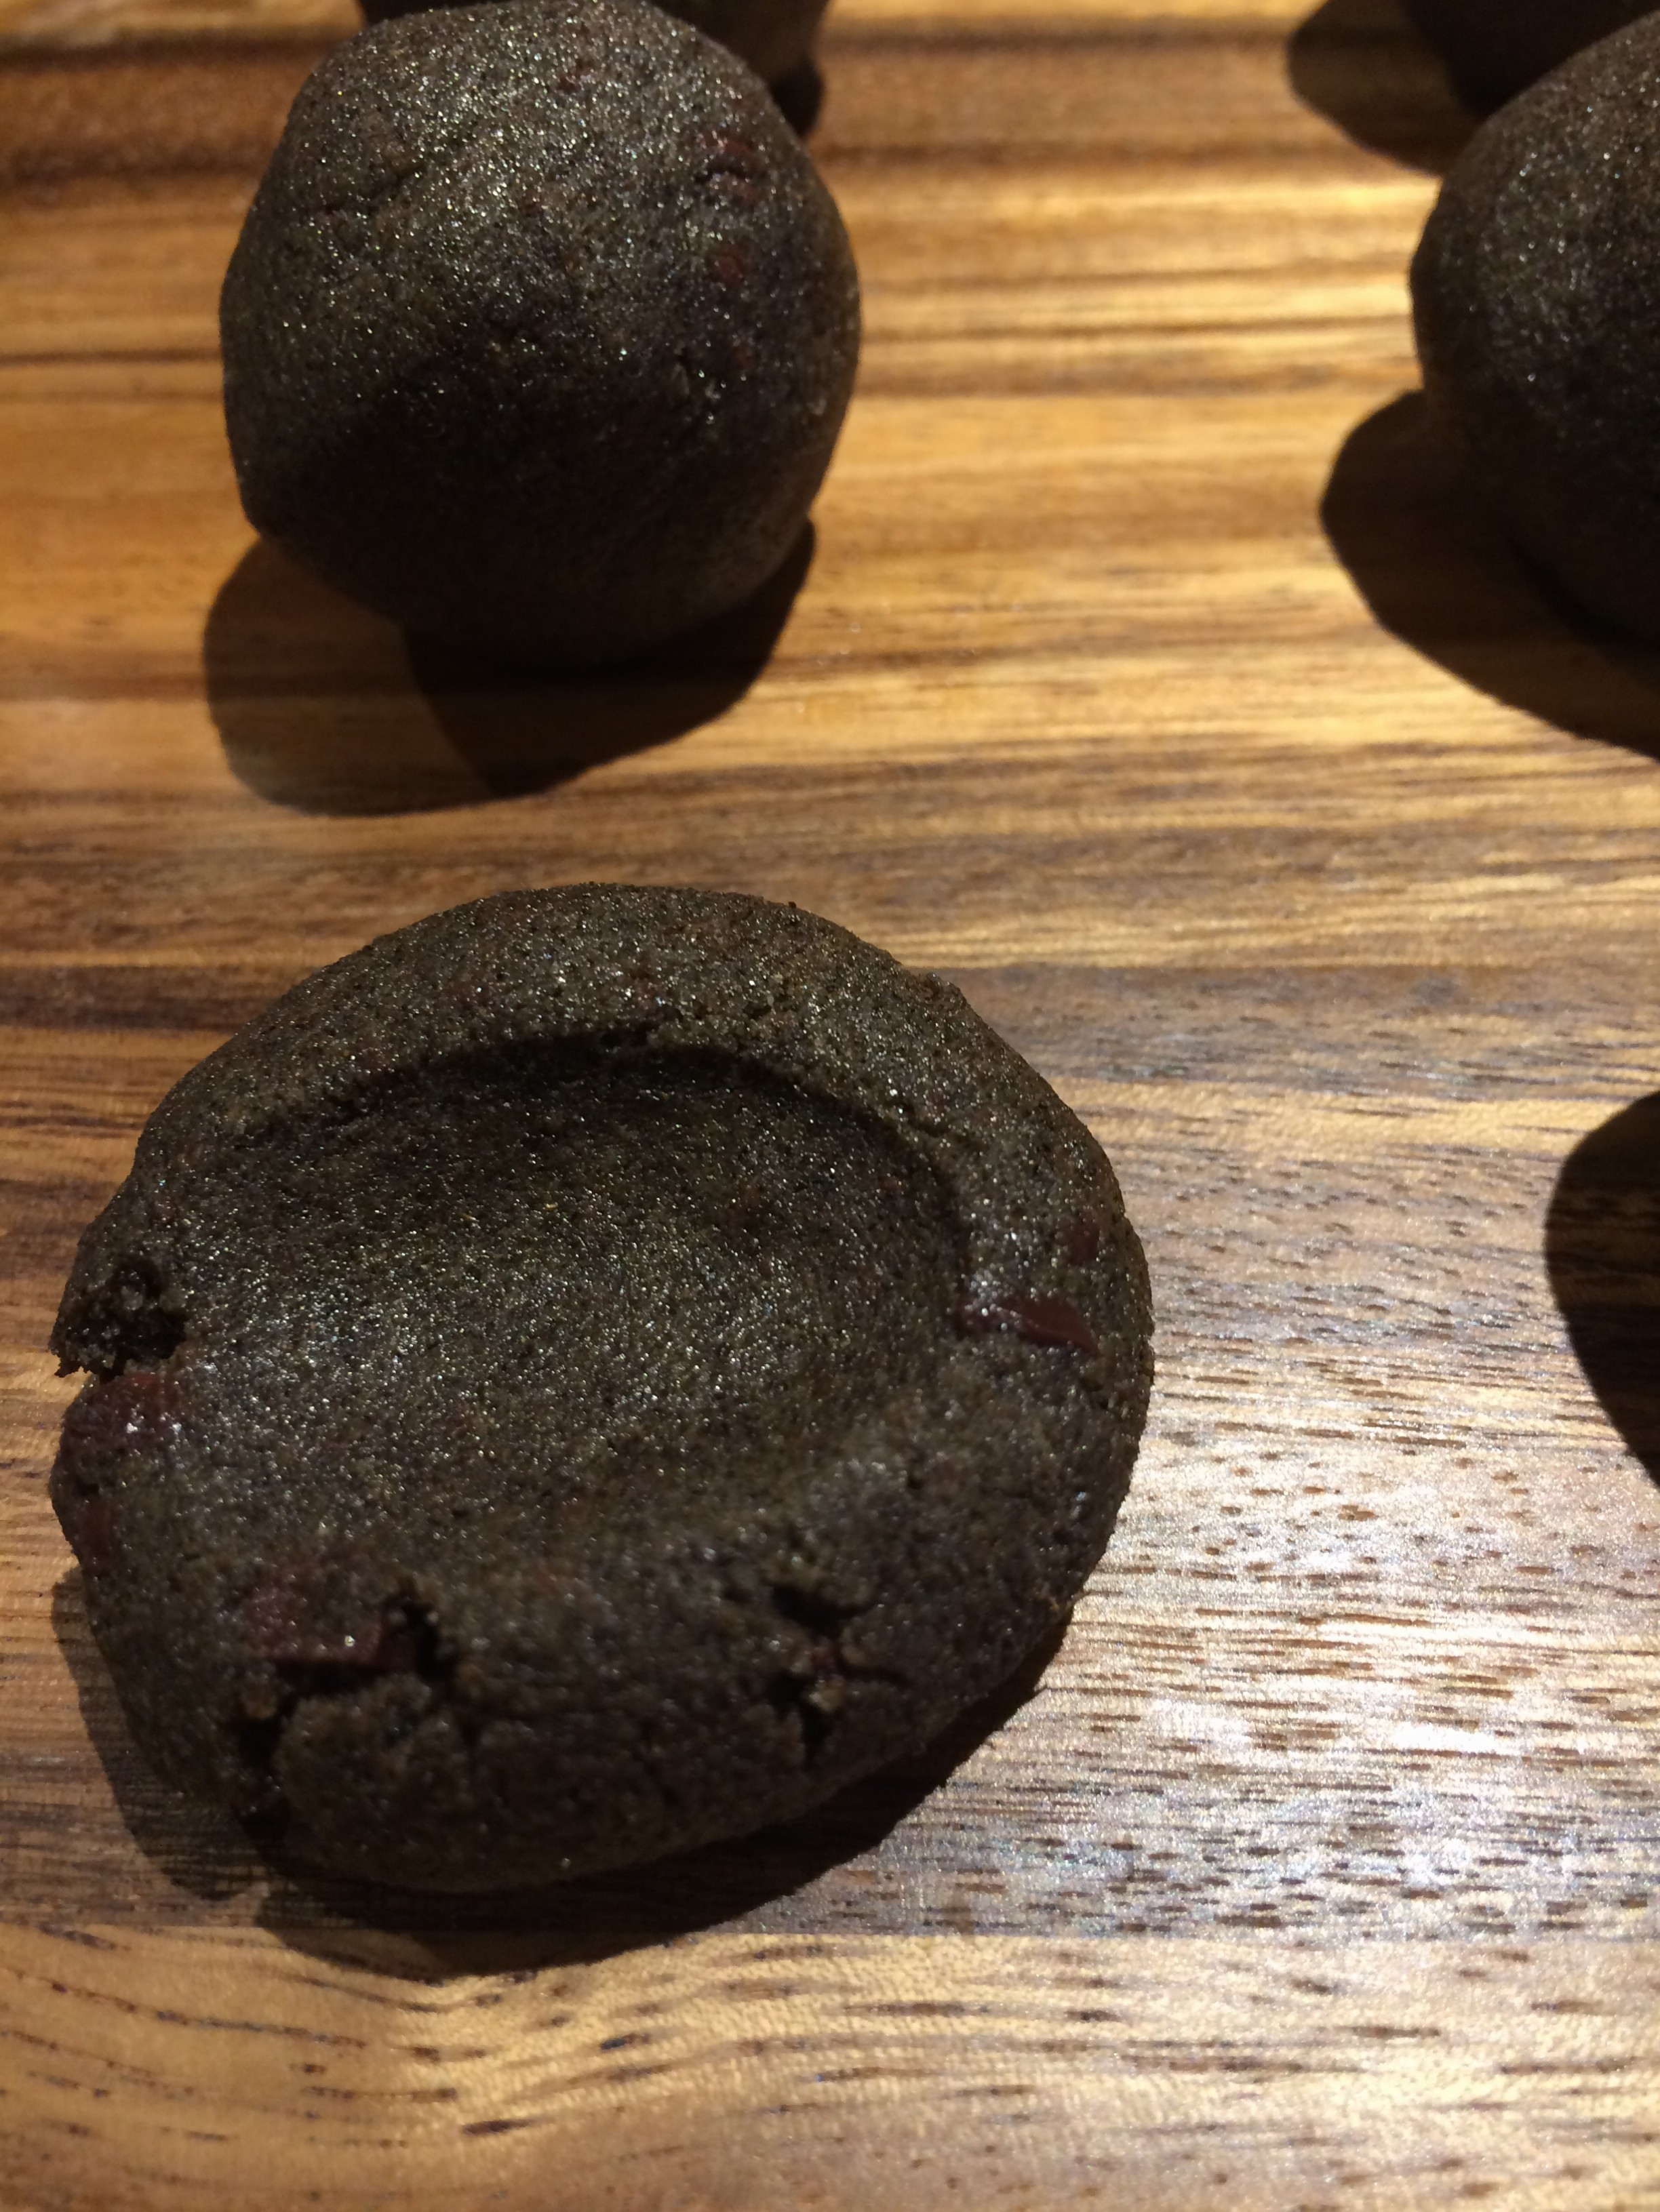
Getting ready to thumbprint the dough….
Now the fun begins! Roll the dough into hefty, 1 tablespoon sized balls. Carefully, make a thumbprint mark on each ball.
Thumbprint!
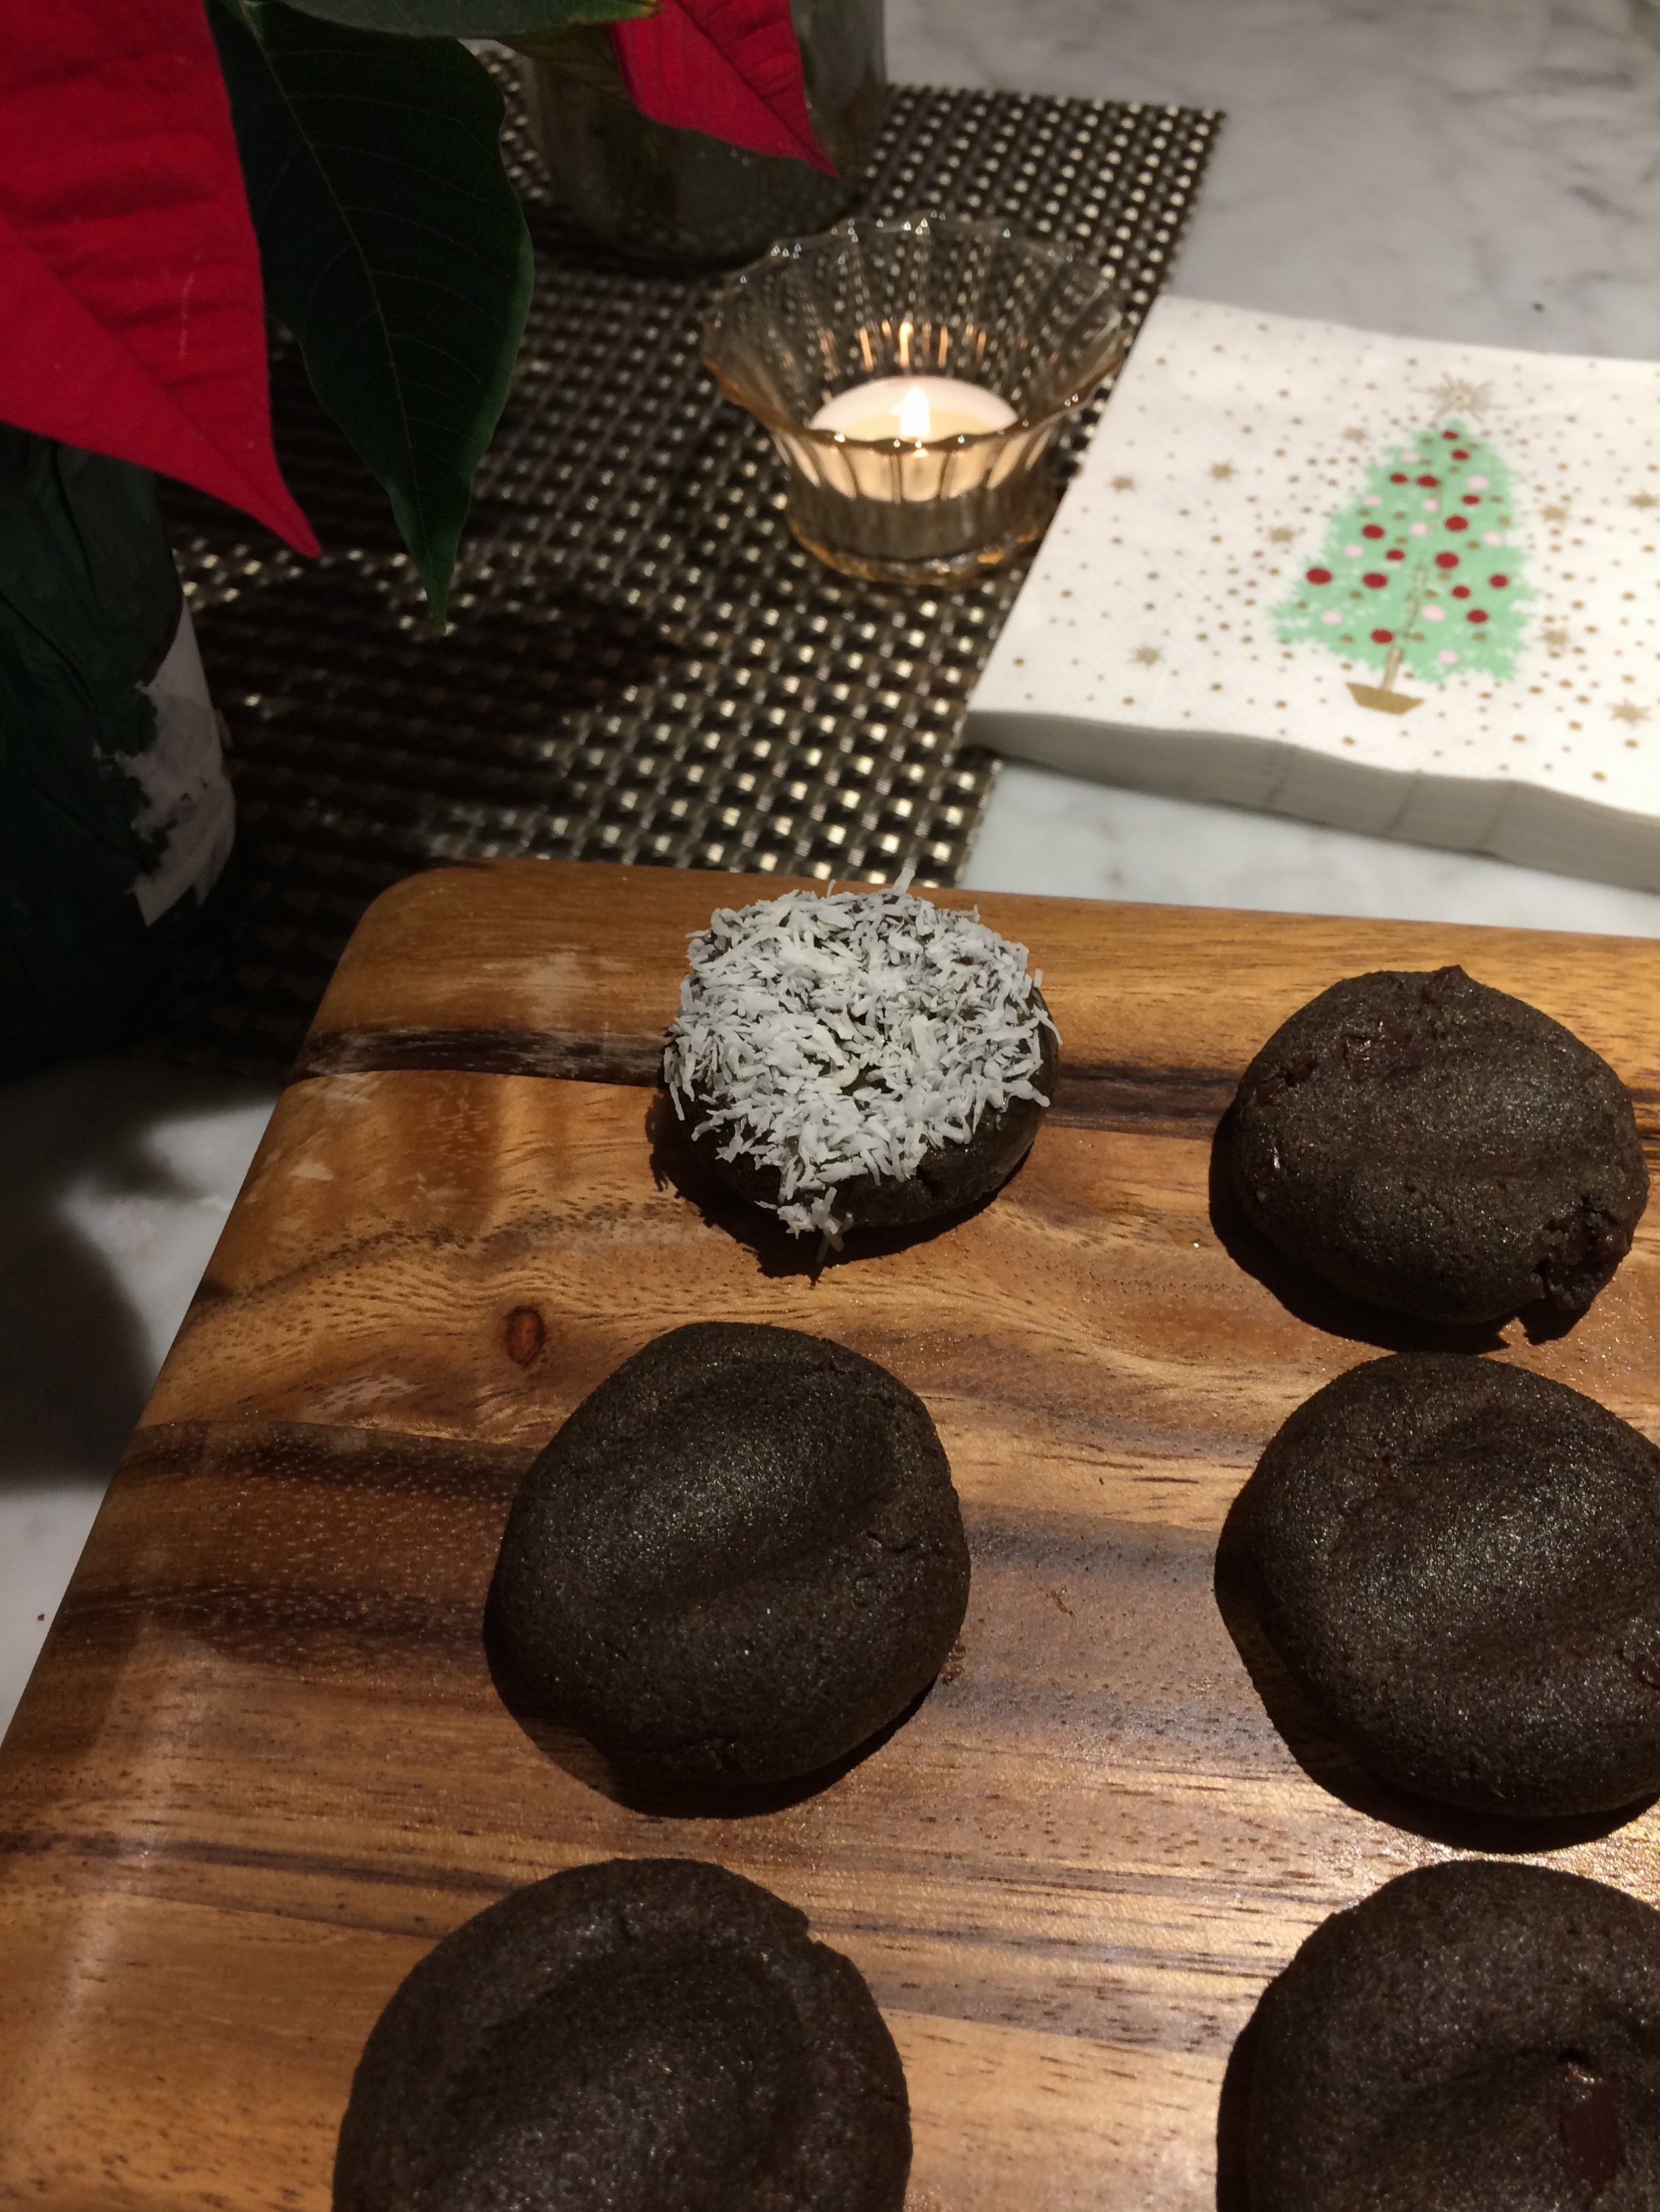
Then, dip each cookie into the reserved egg whites, then into shredded coconut (nuts would work well too). The egg whites act as a glue for the coconut. Then add a single chocolate chip to the thumbprint in each cookie. Now, they are ready to bake!
Apply Coconut!
Note, because there’s maple syrup in the recipe, the bake time was reduced significantly, to reduce excessive browning.
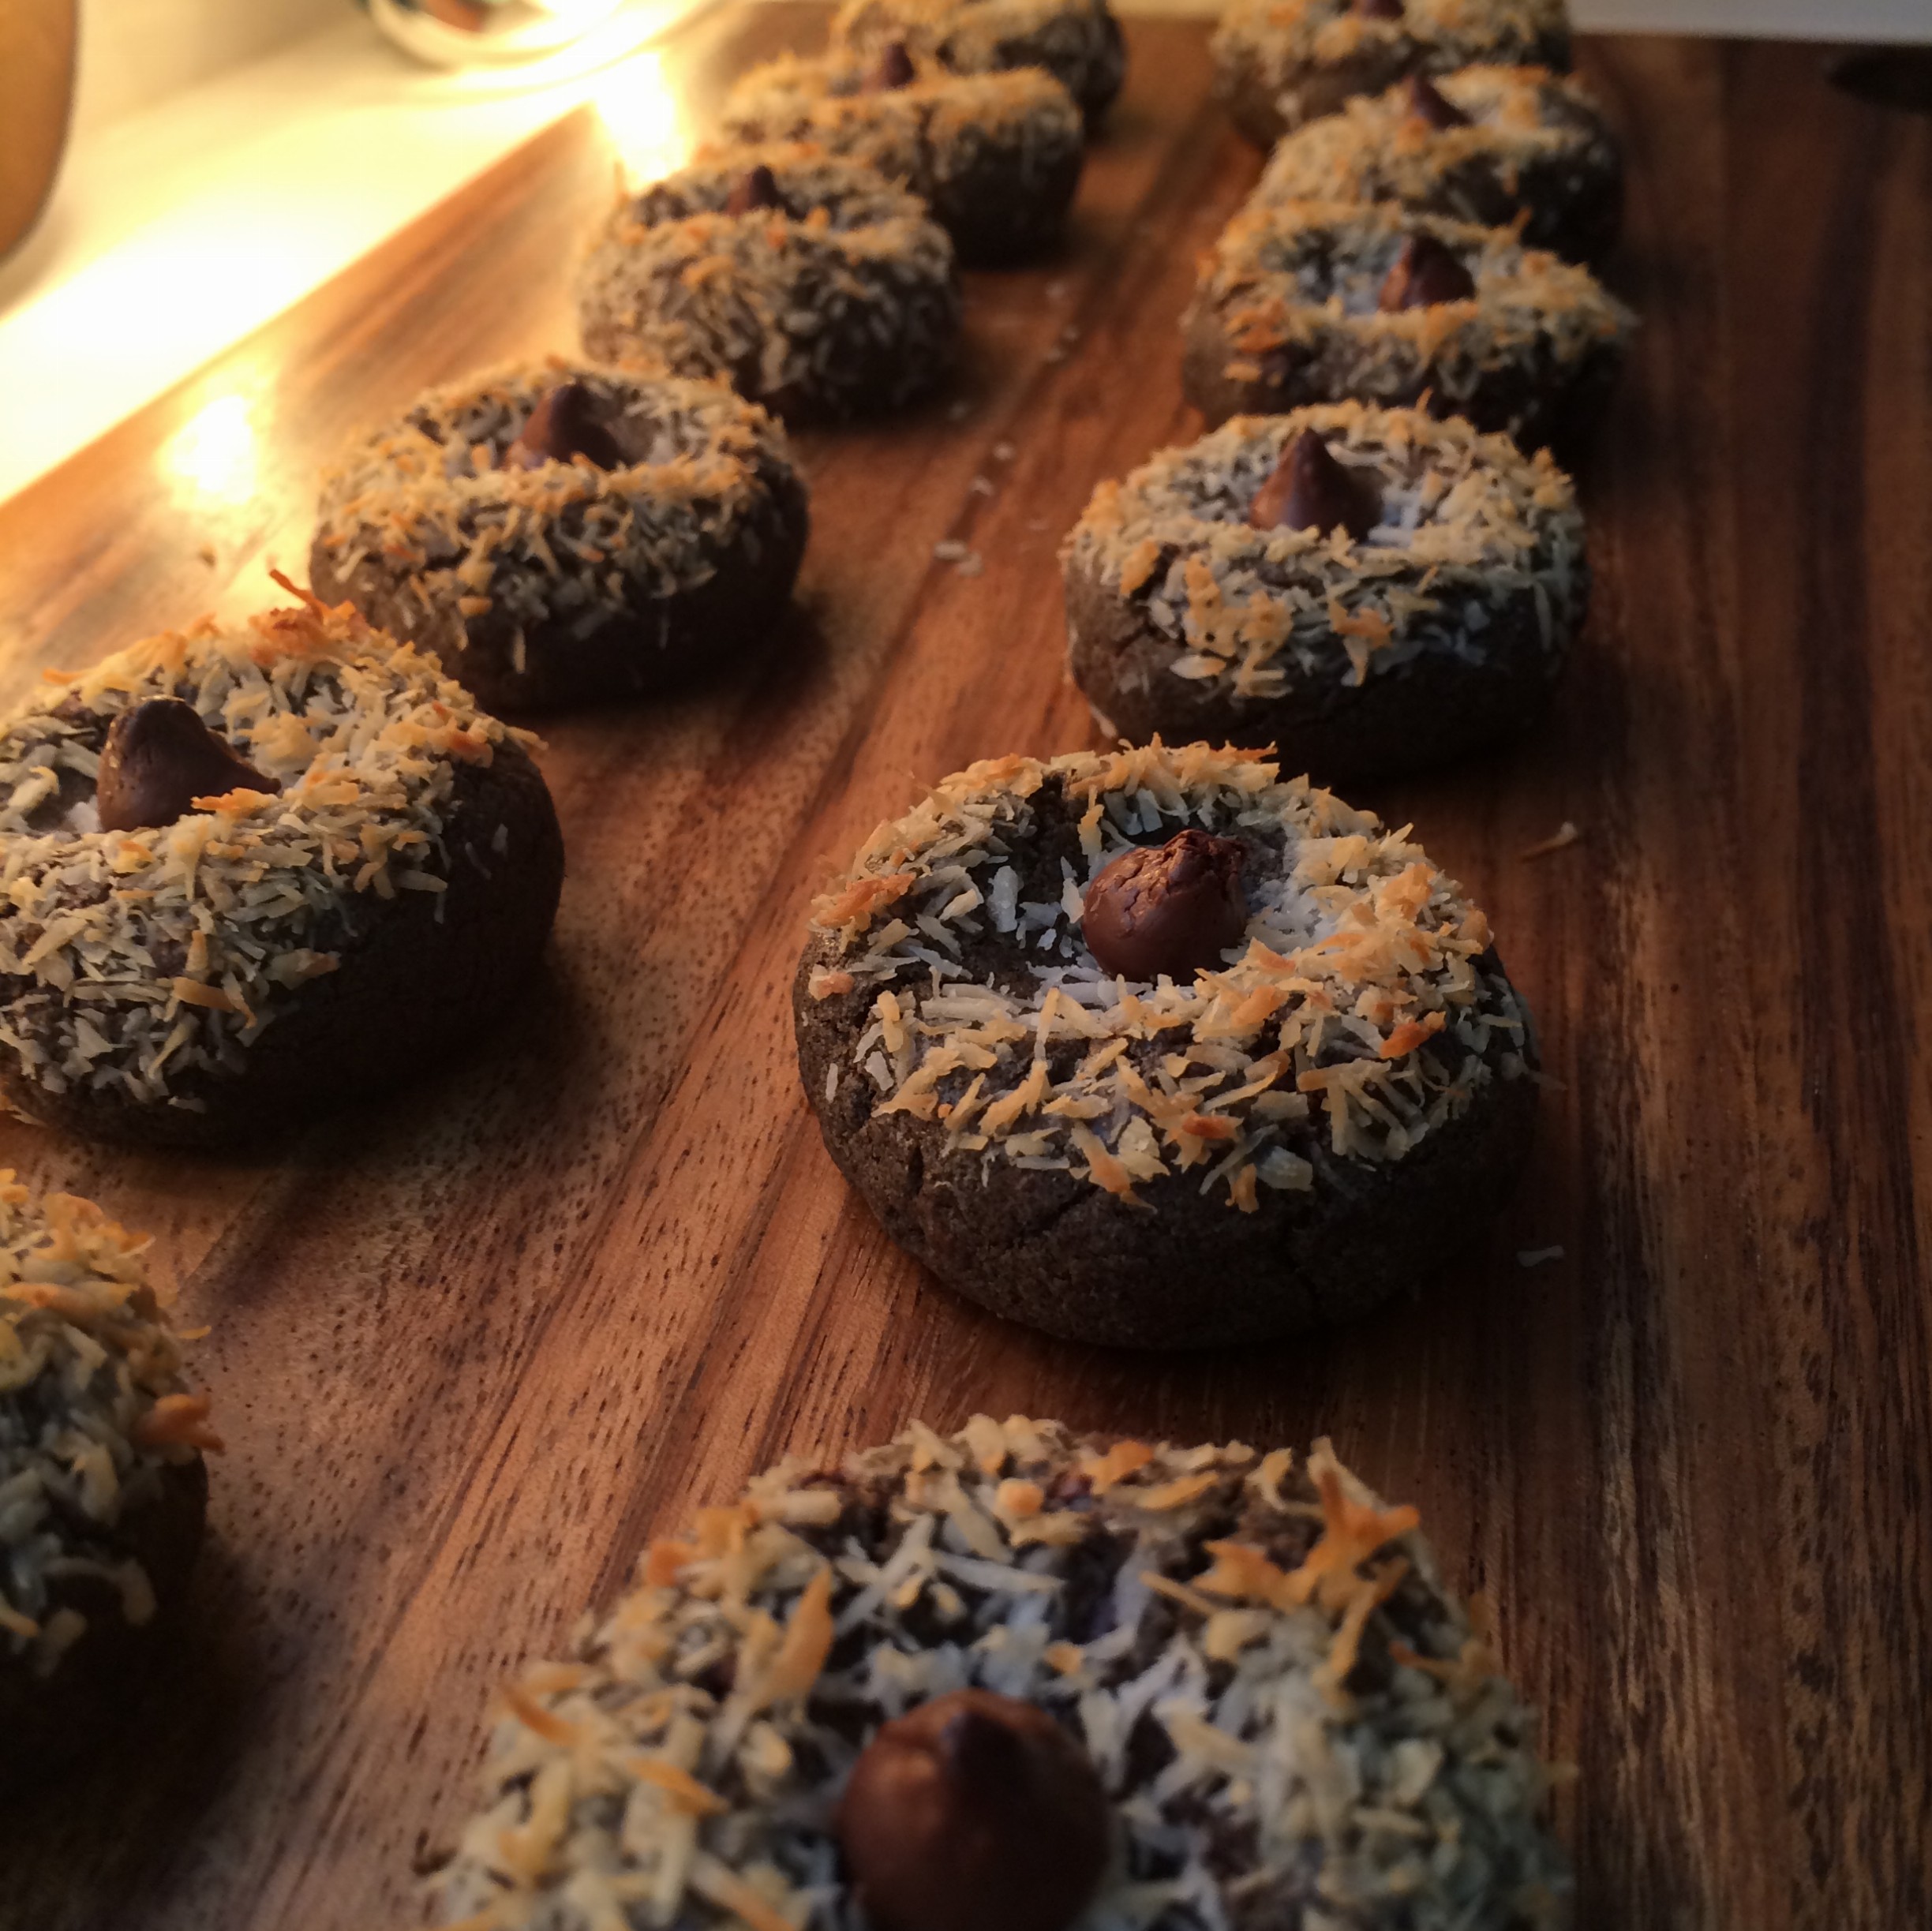
My oven runs hot, so they only took 12 minutes to bake. You know they are ready when the coconut just starts to lightly brown. Aren’t they beautiful!?
Buckwheat Chocolate Thumbprint Cookies
Though the added chocolate and maple syrup add moisture, these tend to retain a dry texture, so they are best enjoyed, fully cooled with a hot cup of coffee or tea;) Next time, I might use melted butter or coconut oil as the “glue” for the topping.
1/2 cup (4 ounces) room temperature unsalted butter
1/3 cup maple syrup
2 large eggs, separated
1 teaspoon vanilla extract
1/2 teaspoon kosher salt
1 1/3 cup buckwheat flour
1/4 cup chopped chocolate chips
1/4 cup shredded coconut
Extra chocolate chips for garnish
Instructions
Preheat the oven to 375 F. Line a large baking sheet with parchment paper.
In a medium bowl, cream the butter and maple syrup together, using your hands. Add the egg yolks, vanilla extract, salt and flour. Mix well and knead together a few times with your hands to further incorporate the dough. Add chopped chocolate chips.
Roll dough into 1 TBS sized balls.
Whisk the egg whites. Place coconut shallow bowl.
Place balls on baking sheet and using your thumb, press lightly, forming a thumbprint. Carefully place each cookie in egg whites and then dip in the coconut. Place a chocolate chip into each thumbprint.
Bake for 12-15 minutes or until the coconut has turned a golden brown. The cookies should feel soft and they will firm up as they cool. Cool on cookie sheet for 15 minutes.
I’ve always loved coconut macaroons. The toasted, sweet coconut is the perfect GF dessert, especially when it’s dipped in chocolate. Then I was introduced to the French macaron.
A gorgeous display of French macarons in Paris.
These beautiful pillows of egg whites and almond flour with a tasty filling, come in every color and flavor combination imaginable. While in Paris, I vowed to eat one macaron a day….no problem! I never imagined that I would consider making them…..until last week;)
While picking up a few goodies at Sur la Table, I spotted this fantastic macaron kit:
A macaron making kit!
The Lekue macaron kit!! It intrigued me. Could I make my own macarons!? I opened the kit, which simply contained a silicon mat, dough dispenser and small cookbook. I think that using a pastry bag has always intimidated me. Something about having a reusable, silicon ‘bag’ was appealing to me. So I bought it!
Before embarking on my macaron journey, I decided that I needed to do some research. I found a whole blog post dedicated to troubleshooting every macaron issue imaginable at Misohungry.
Could it really be this difficult? After about an hour of reading and researching, what I’ve come up with is that it’s not very difficult. There are a few important steps that you need to follow religiously. Other than that it is luck;)
What I read, over and over again was the need to cure the egg whites. Basically, you leave them out of the refrigerator over night. If you are like me and forget this important step, you can put them in the microwave at 5 second increments, for a total of 20 seconds.
Quick curing the egg whites in the microwave.
Now you can proceed to whip the egg whites using a hand mixer or Kitchenaid at medium speed. Slowly add the granulated sugar. This process should take, roughly 4 minutes. Just whip until they form stiff peaks.
Whipping the egg whites!
Now, you can carefully add about 1/2 of the rest of your dry ingredients, using a spatula to carefully fold the ingredients together. Use finely ground almond flour. If you feel extra efficient, you can sift your powdered sugar, but it didn’t seem to make a difference for me. Do not over mix (this is hard to do). The goal is to fold the ingredients no more than 10 times…..unrealistic for me, but it’s a good measure to keep in mind. Now add your food coloring (just a few drops to make your macarons into gorgeous pieces of art) and/or flavors. Go easy on these items. Too much liquid or additional flavoring will ruin the batter. A few drops or a scant teaspoon of coloring and or essences (rose water, vanilla, liquor, etc) or just 2 teaspoons of dry ingredients (chocolate powder, spices, etc). I opted to make a simple, chocolate macaron to start, so at this point, I added 2 teaspoons of raw cacao powder, then folded it into the batter a few times.
Cacao powder and caramel for the filling!
Now, add the rest of the dry ingredients and carefully fold into the batter. Quickly move on to the next step. You do not want your batter to sit!
Fill up the batter dispenser!
Here’s where all of the fun starts! Place the batter into your pastry bag or dispensing tool of your choice. The kit that I purchased, has a silicon baking mat with circles outlined on it, for easy dispensing. I did not try to draw a circle with my batter. I simply pushed out enough batter to make a tear shaped, dollop. No worries, the batter will slowly flatten and spread out. I filled the entire pan and then, using a small spoon, I tidied up any stray or messy edges.
Macarons!
There was quite a bit of extra batter leftover, so I continued making more macarons on an extra silicon sheet. If you don’t have a silicon sheet, just use a cookie sheet with parchment paper;)
After 35-40 minutes, a shell forms over the macaron.
Now, let these beauties sit for 35-40 minutes. In this time, they should flatten out and form a shell.
I highly recommend baking these in a convection oven preheated to 300 degrees for 8-10 minutes. (If you don’t have a convection oven, try 325 degrees for 20 minutes.) Mine were done in 8 minutes. It was very difficult to let them sit and cool down! I was so excited to fill and eat them!
A few of them stuck a bit on the mat. No worries, they will be covered up with a tasty filling, soon enough! A few of them were slightly browned. Oh well, I ate those first. To simplify my macaron adventure, I decided to use some Alma lavender caramel sauce that I bought at The Meadow in Portland for the filling.
Once my macarons were cooled off and assembled, they looked perfect! But how did they taste!? Amazing! So unbelievably good…..so I made another batch;)
Chocolate and caramel macaron
For the second batch, I decided to make balsamic and rosemary macaron with a fig jam filling. I added a scant teaspoon of balsamic vinegar and 2 teaspoons of dried rosemary to the batter.
Balsamic rosemary macaron with fig filling.
Next time, I think I’d actually cut the sugar down considerably, due to the high sugar content in the jam. These turned out beautiful, as well. Can’t wait to try some more variations! I think they’d be lovely as a housewarming gift:))
2 tsp of dry flavoring of your choice (cacao, herbs, spices, flavored sugar, etc)
1 scant teaspoon of flavoring of your choice (vanilla, liquor, rose water, etc)
Instructions
Cure the egg whites, by leaving them out of the refrigerator over night. Or you can put them in the microwave at 5 second increments, for a total of 20 seconds.
Whip the egg whites and a pinch of salt using a hand mixer or Kitchenaid at medium speed.
Slowly add the granulated sugar. This process should take, roughly 4 minutes. Just whip until they form stiff peaks.
Combine the powdered sugar and almond flour in a separate bowl.
Carefully, add about 1/2 of this mixture to the egg whites, using a spatula to carefully fold the ingredients together.
Add your food coloring and/or flavors. Go easy on these items.
Now, add the rest of the powdered sugar and almond flour and carefully fold into the batter.
Place the batter into your pastry bag or dispensing tool of your choice.
The kit that I purchased, has a silicon baking mat with circles outlined on it, for easy dispensing.
A regular sized cookie sheet should yield 48, to make 24 macarons.
With the leftover batter make more macarons on an extra silicon sheet. If you don't have a silicon sheet, just use a cookie sheet with parchment paper;)
Now, let them sit for 35-40 minutes.
I highly recommend baking these in a convection oven preheated to 300 degrees for 8-10 minutes.
If you don't have a convection oven, try 325 degrees for 20 minutes.
Once cooled, you can fill with pre made chocolate or caramel sauce, preserves, buttercream, lemon curd, etc. There are tons of recipes for a variety of fillings. Once I sort through those, I'll post them here;)
So, I decided to get a monthly gluten free snack subscription from tastypantry.com to keep my creative juices flowing in the kitchen! Every month a carefully curated collection of goodies miraculously appears at my door. Everything has been very tasty, but nothing has inspired me as much as one particular product…..Cacao Brittle. It looked completely uninteresting to me. So much so, that I didn’t even try it for a week. One bite, and I realized that I was hooked! Crunchy, barely sweet, chocolate goodness. Just a hint of banana….which is a good thing, since I don’t like bananas:)
But what is Cacao Brittle? It is simply chocolate flavored, banana chips. I read the ingredients on the label and realized that I had all the ingredients I needed to recreate this GF chocolate yumminess. Banana, cacao powder, cacao nibs, almonds, coconut, maple syrup, vanilla extract, cinnamon, salt. Throw everything into a food processor, until it turns into a beautiful chocolate, chunky mixture. Place it on a parchment lined cookie pan. Roll it out, so it evenly covers the pan, using a sheet of Saran Wrap (it’s very sticky). Remove the Saran Wrap.
Now it needs to be dehydrated. I don’t have a dehydrator, but my oven has very low temperature settings. So, I set the oven to 150 degrees, put the pan in the oven and crossed my fingers. Every hour, I checked on it’s progress. 4 hours into the process, I could tell it was going to take much longer than I thought. At that point, I removed the pan from the oven. The brittle was pliable, but solid, so I began breaking it into pieces to speed up the dehydration process. Then I went to sleep, trusting that it would be perfect in the morning……and it was!
My brittle was much thicker, almost like a thin chocolate cookie. Joy! I figured it out on my first try! Now, I want to try some variations, with different nuts, spices and flavors:) It does occupy your oven for 10 hours, but do it overnight, like I did and it makes it all worth it!
Process all ingredients in a food processor. Incorporate all ingredients, until you get the consistency you desire.
Place onto a parchment paper lined cookie sheet and roll out evenly, placing cling wrap on top of the mixture. Remove cling wrap.
Place in oven at 150 degrees or in food dehydrator. In 4-5 hours remove pan from oven and check the consistency of the brittle. It should break apart fairly easy, into large chips. Place back into the oven. Check again in 6-8 hours. Should be crispy all the way through, when it is done! Let it cool and then store in ziplock bag for 5 days.....it will be gone in 1 day:)