Mexican Chocolate Cookies

I have been on a Mexican cooking adventure lately! Growing up in a large, Mexican American family, we celebrated Christmas with Mexican food. This food is integral to my upbringing and to how I continue to celebrate the holidays! Now that the holidays are over, I’d like to share with you this powerhouse cookie that you can enjoy, all year!

Mexican Feast!!
Mexican Feast!!

Tamales, enchiladas, pozole, beans…..yum! This year, it was just Jason and I celebrating Christmas Day, so I decided I needed a simple dessert that we could enjoy for at least a few days past the holiday. I decided to stick with the Mexican theme and make  Mexican Chocolate Cookies. Something about the richness of the chocolate and the intensity of cayenne spice appealed to me. As an added bonus, chocolate is one of the easiest desserts to make gluten free!

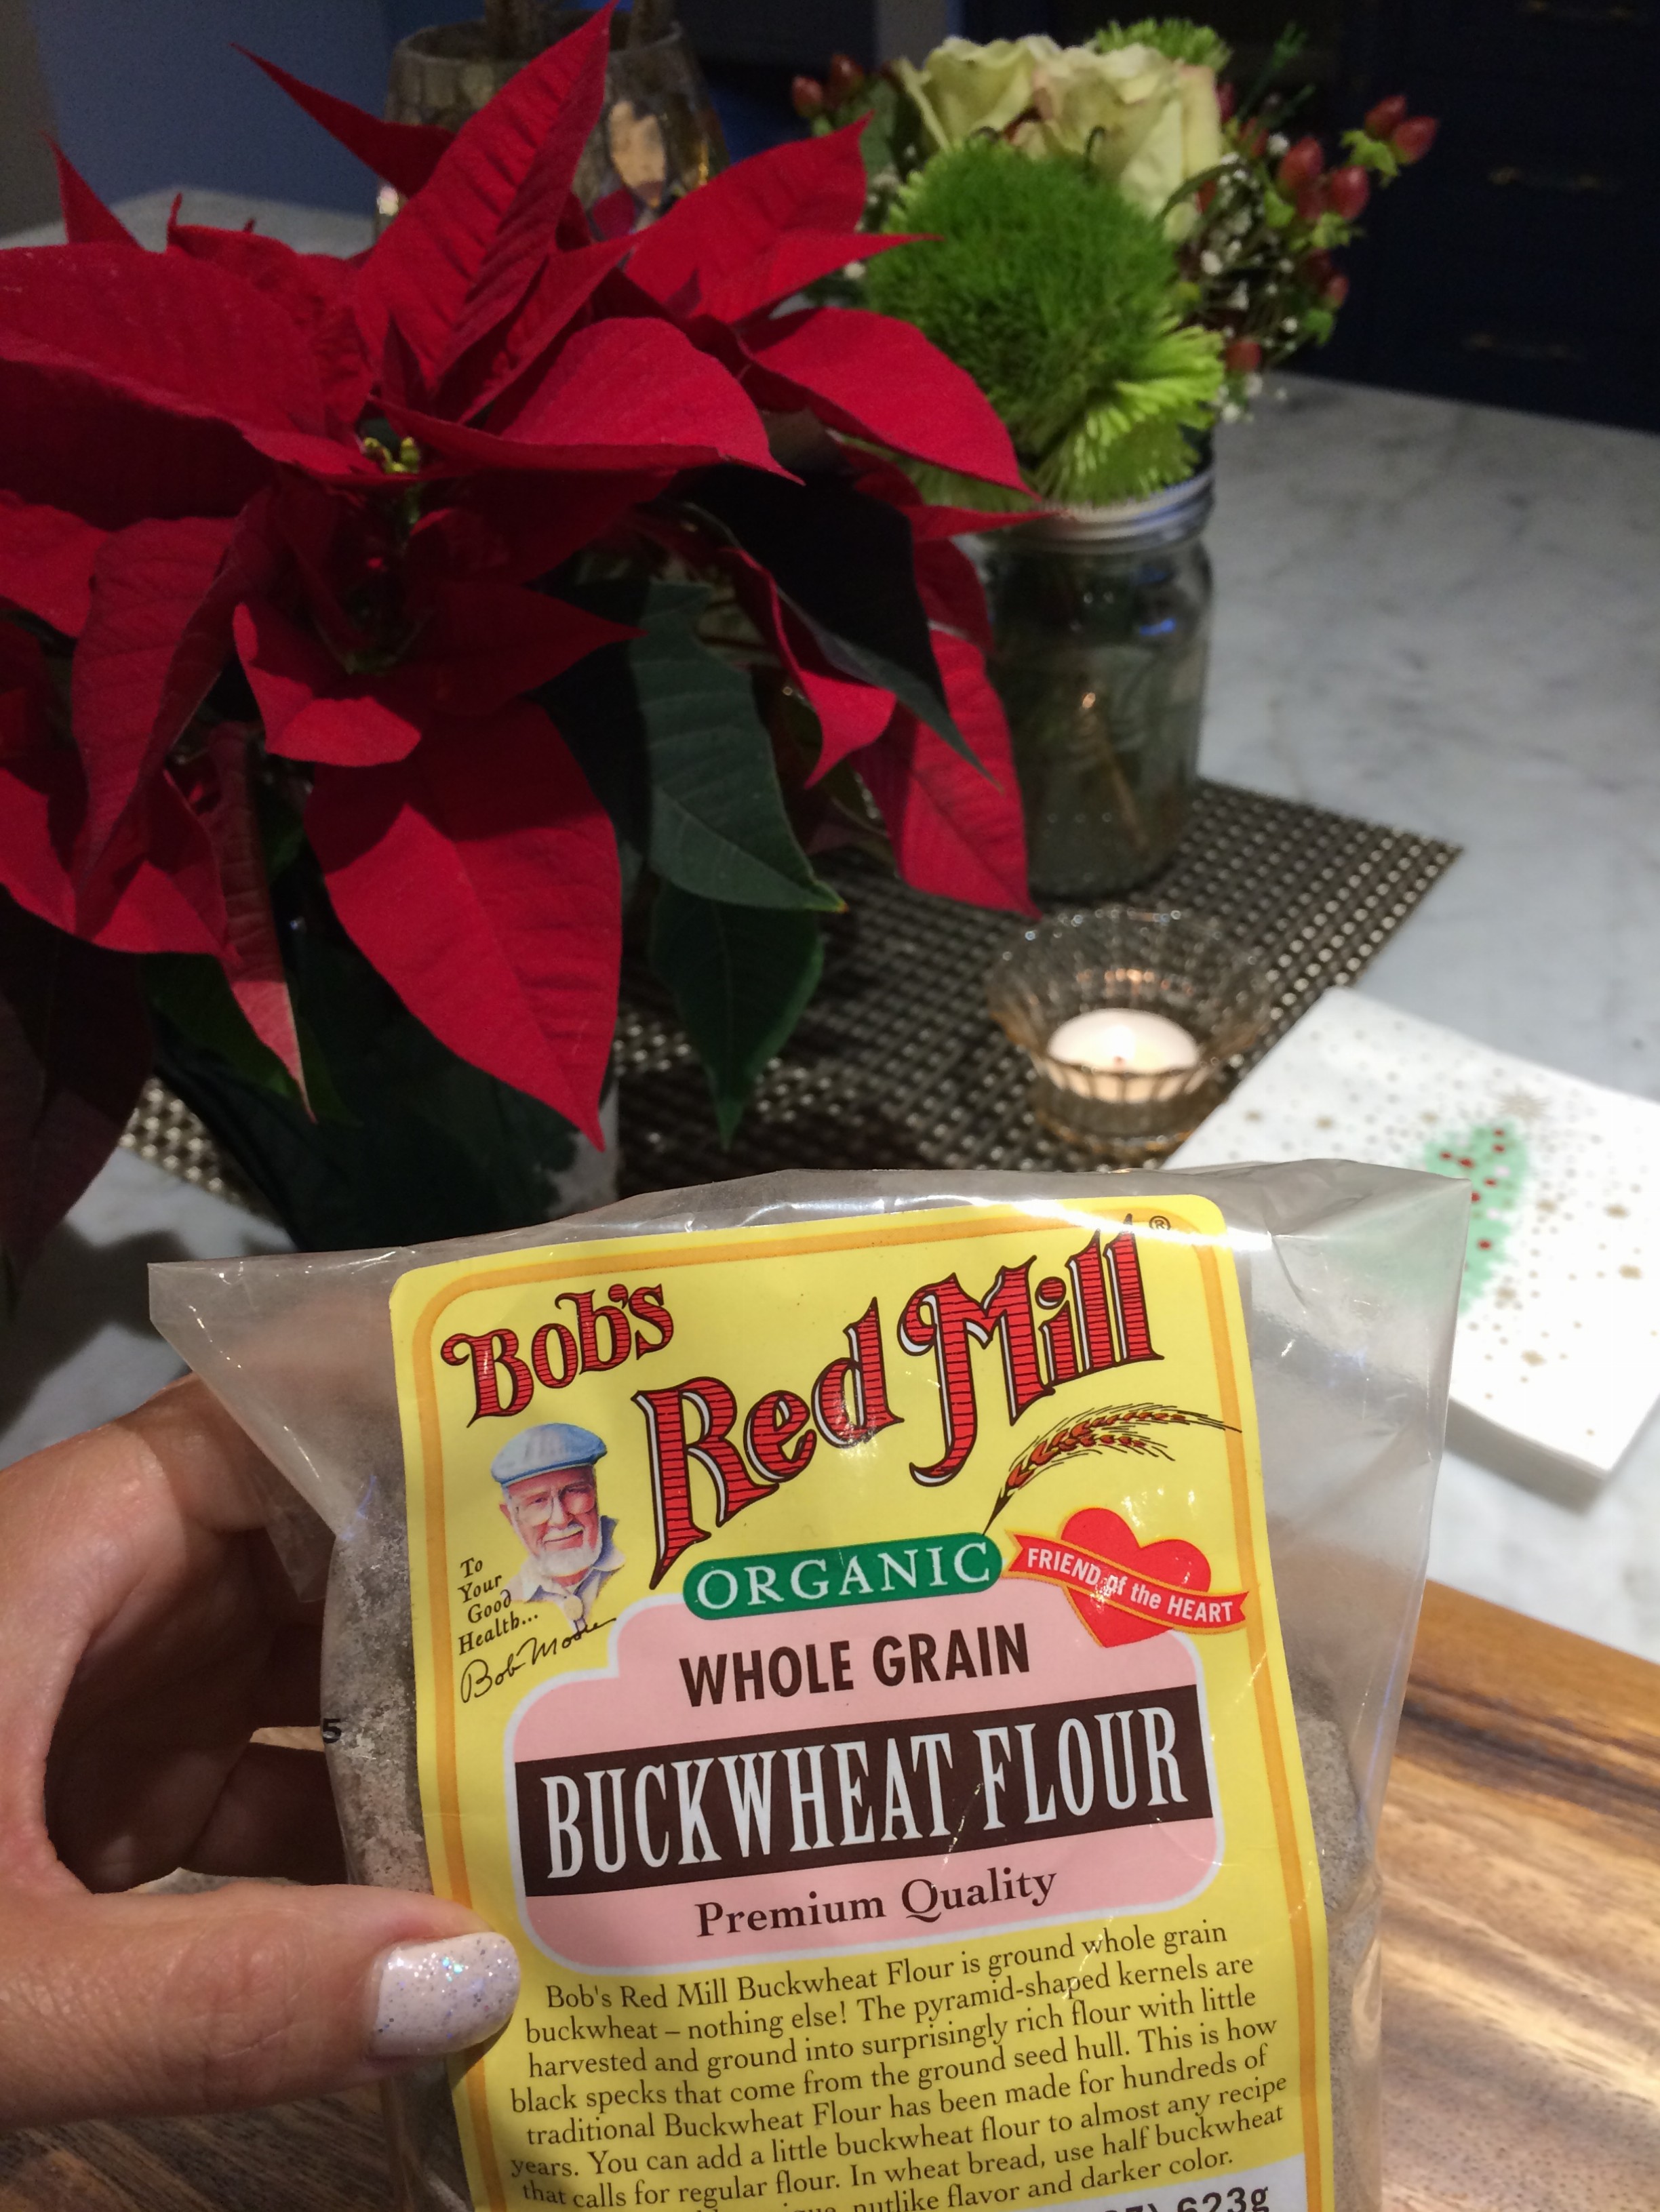
I had found a couple good recipes on the internet in the last couple months, so I took a risk and combined them into my own recipe. The base of the cookie was simply almond flour (or any nut flour), cacao powder, cayenne, cinnamon, vanilla (Mexican, of course!), semisweet chocolate and caster sugar.

Mexican Chocolate Cookies

If you are not familiar with cacao, be sure to make sure to use this and NOT cocoa! It’s not the same!

Say yes to raw cacao powder!!

Raw cacao is made by cold pressing the un-roasted cacao beans, keeping the living enzymes intact and removing the fat. This helps to maintain the nutritional benefits, including the high antioxidant levels. It also allows you to be in control of the amount of sugar you use, be cause it is unsweetened. Also, be sure to use caster sugar. It’s super fine and helps keep the texture less chunky. I also added baking soda and baking powder, to help get the cookies to rise and an egg to moisten the dough. You might think that the one egg is insufficient, but it comes together quite nicely if you use your hands. Go ahead! No one is looking;)

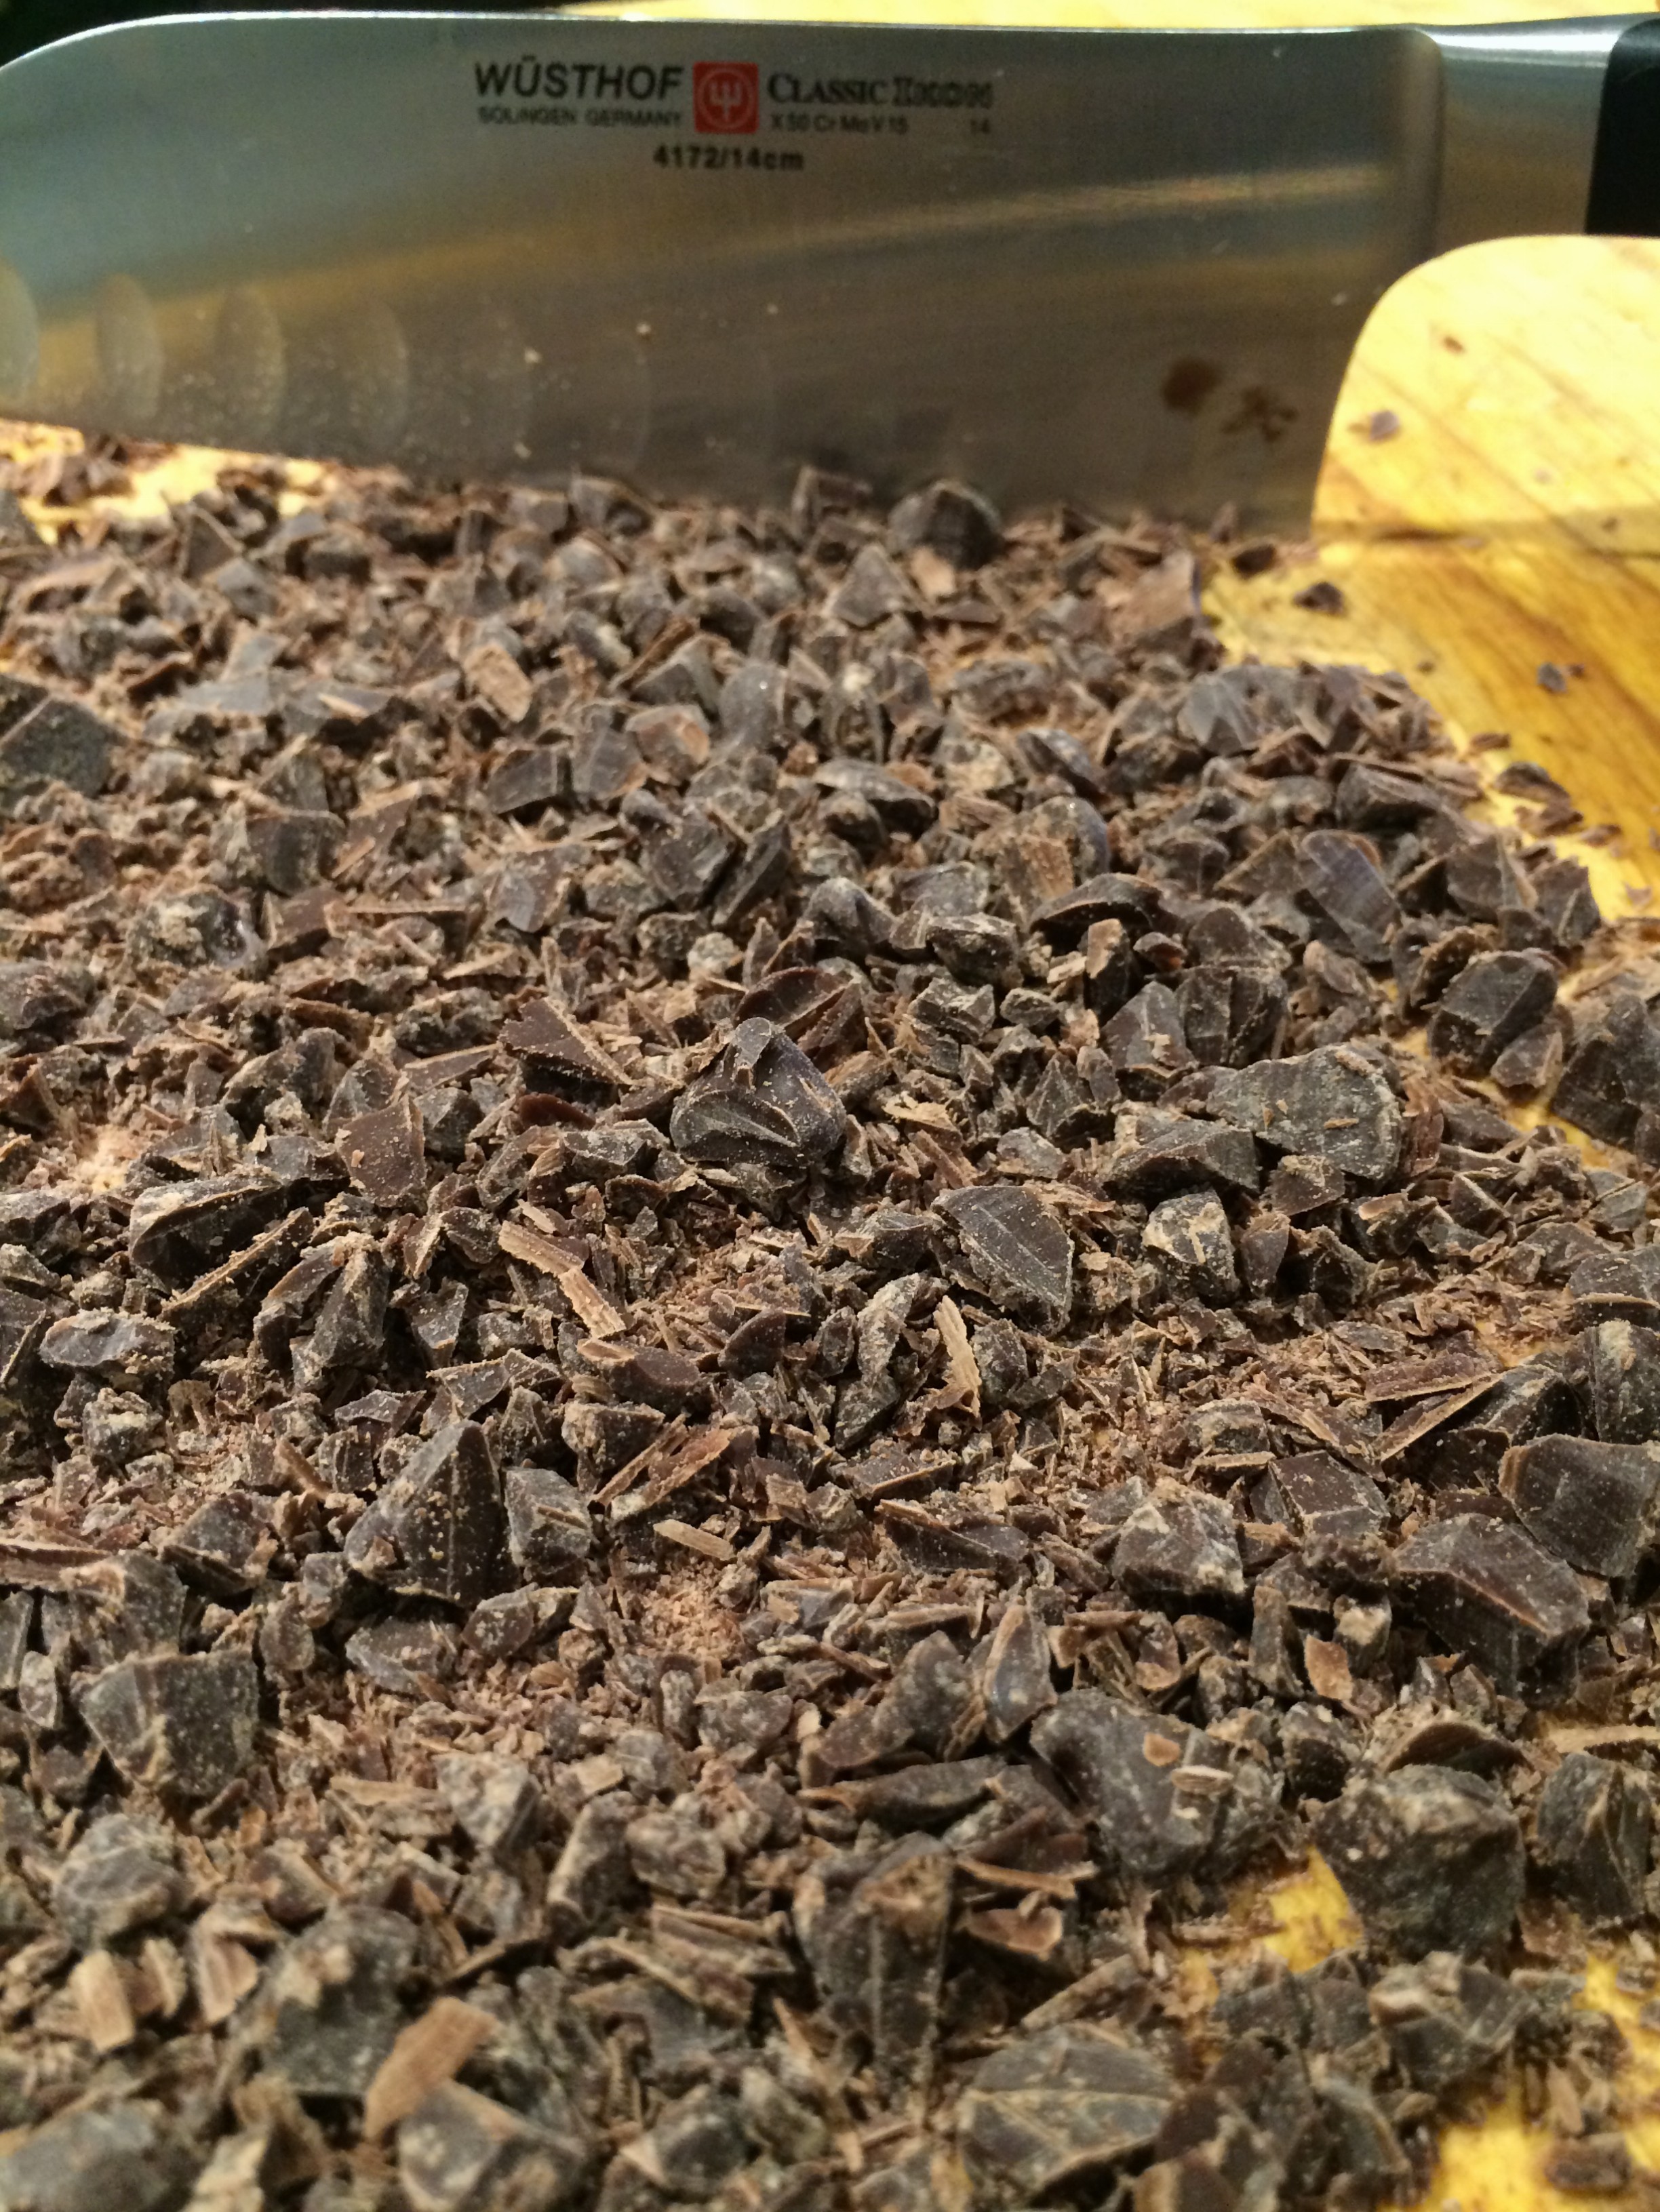
Once the dough is fully incorporated, add the chocolate chips. I made the mistake of not chopping up my chocolate chips. I recommend chopping the chocolate chips up, as finely as possible.

Mix the dough with your hands!!

It will melt into the dough more uniformly and add a more gooey texture. Now, form your dough into a ball, cover it with plastic wrap and chill it in the refrigerator for at least a half an hour. One of the recipes that I read, included these instructions, so I’ve added them here….not sure if this is necessary, but they turned out yummy, so I’ll leave it up to you, if you decide not to include this step!

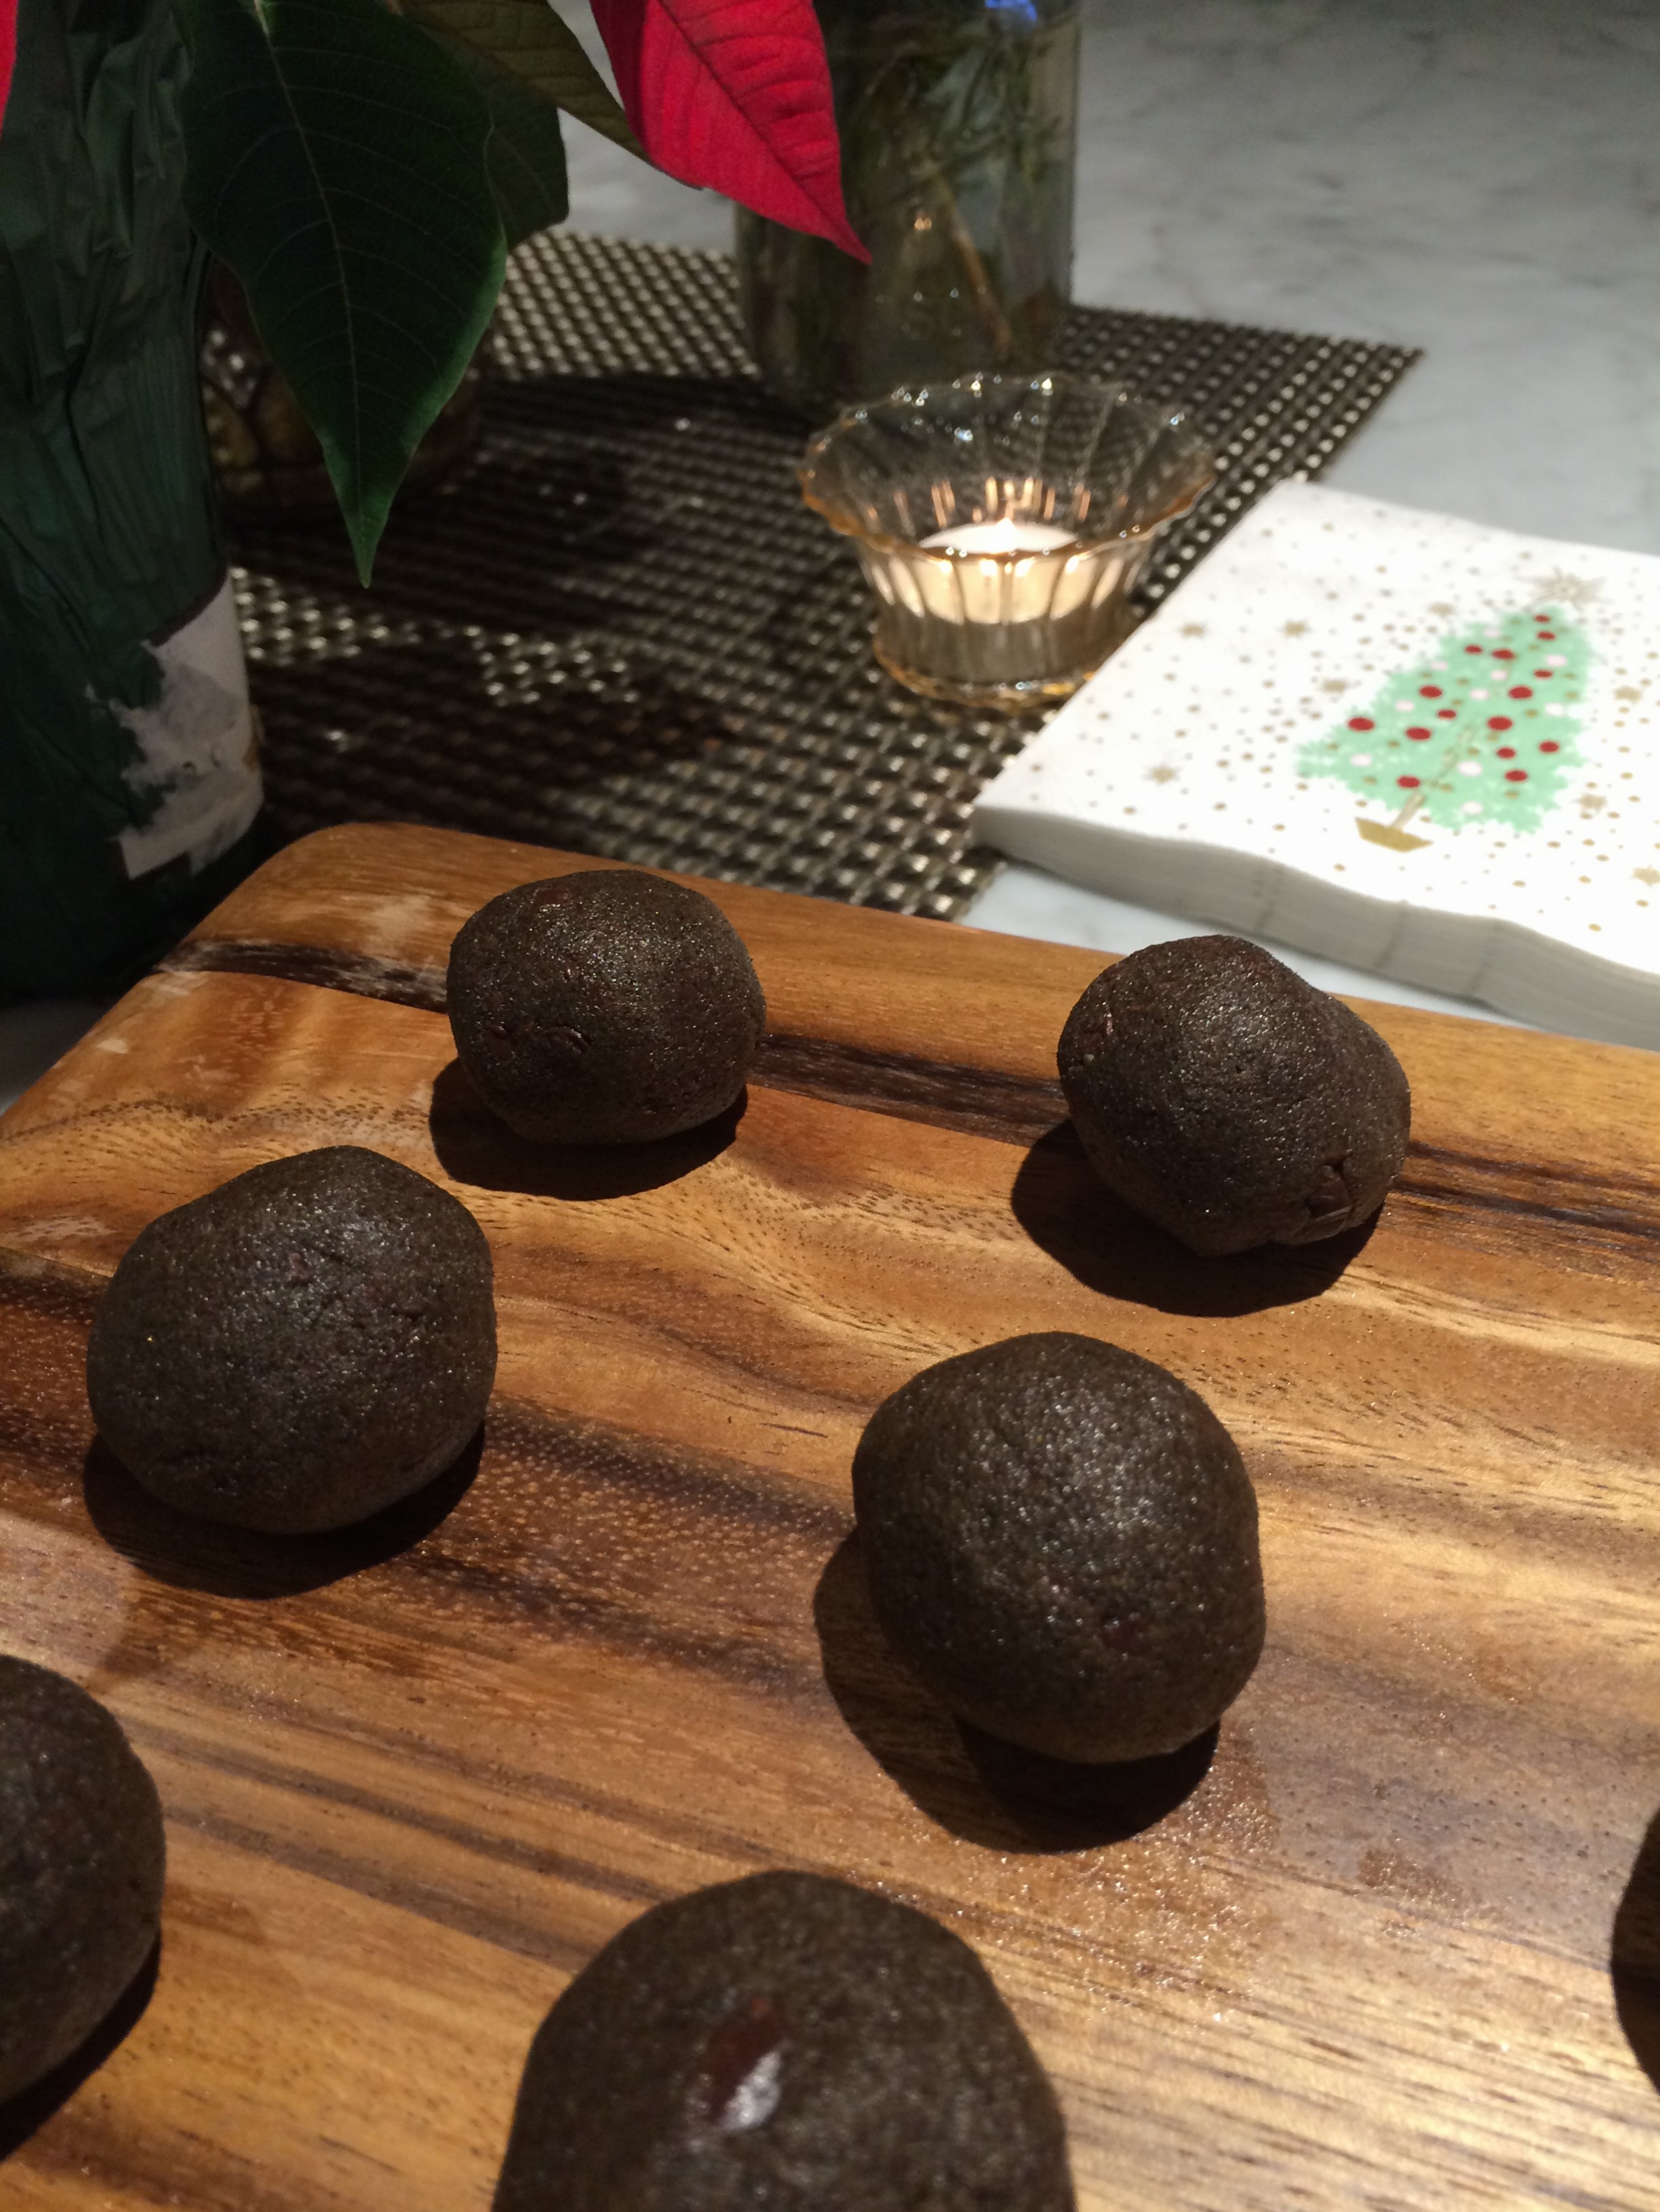
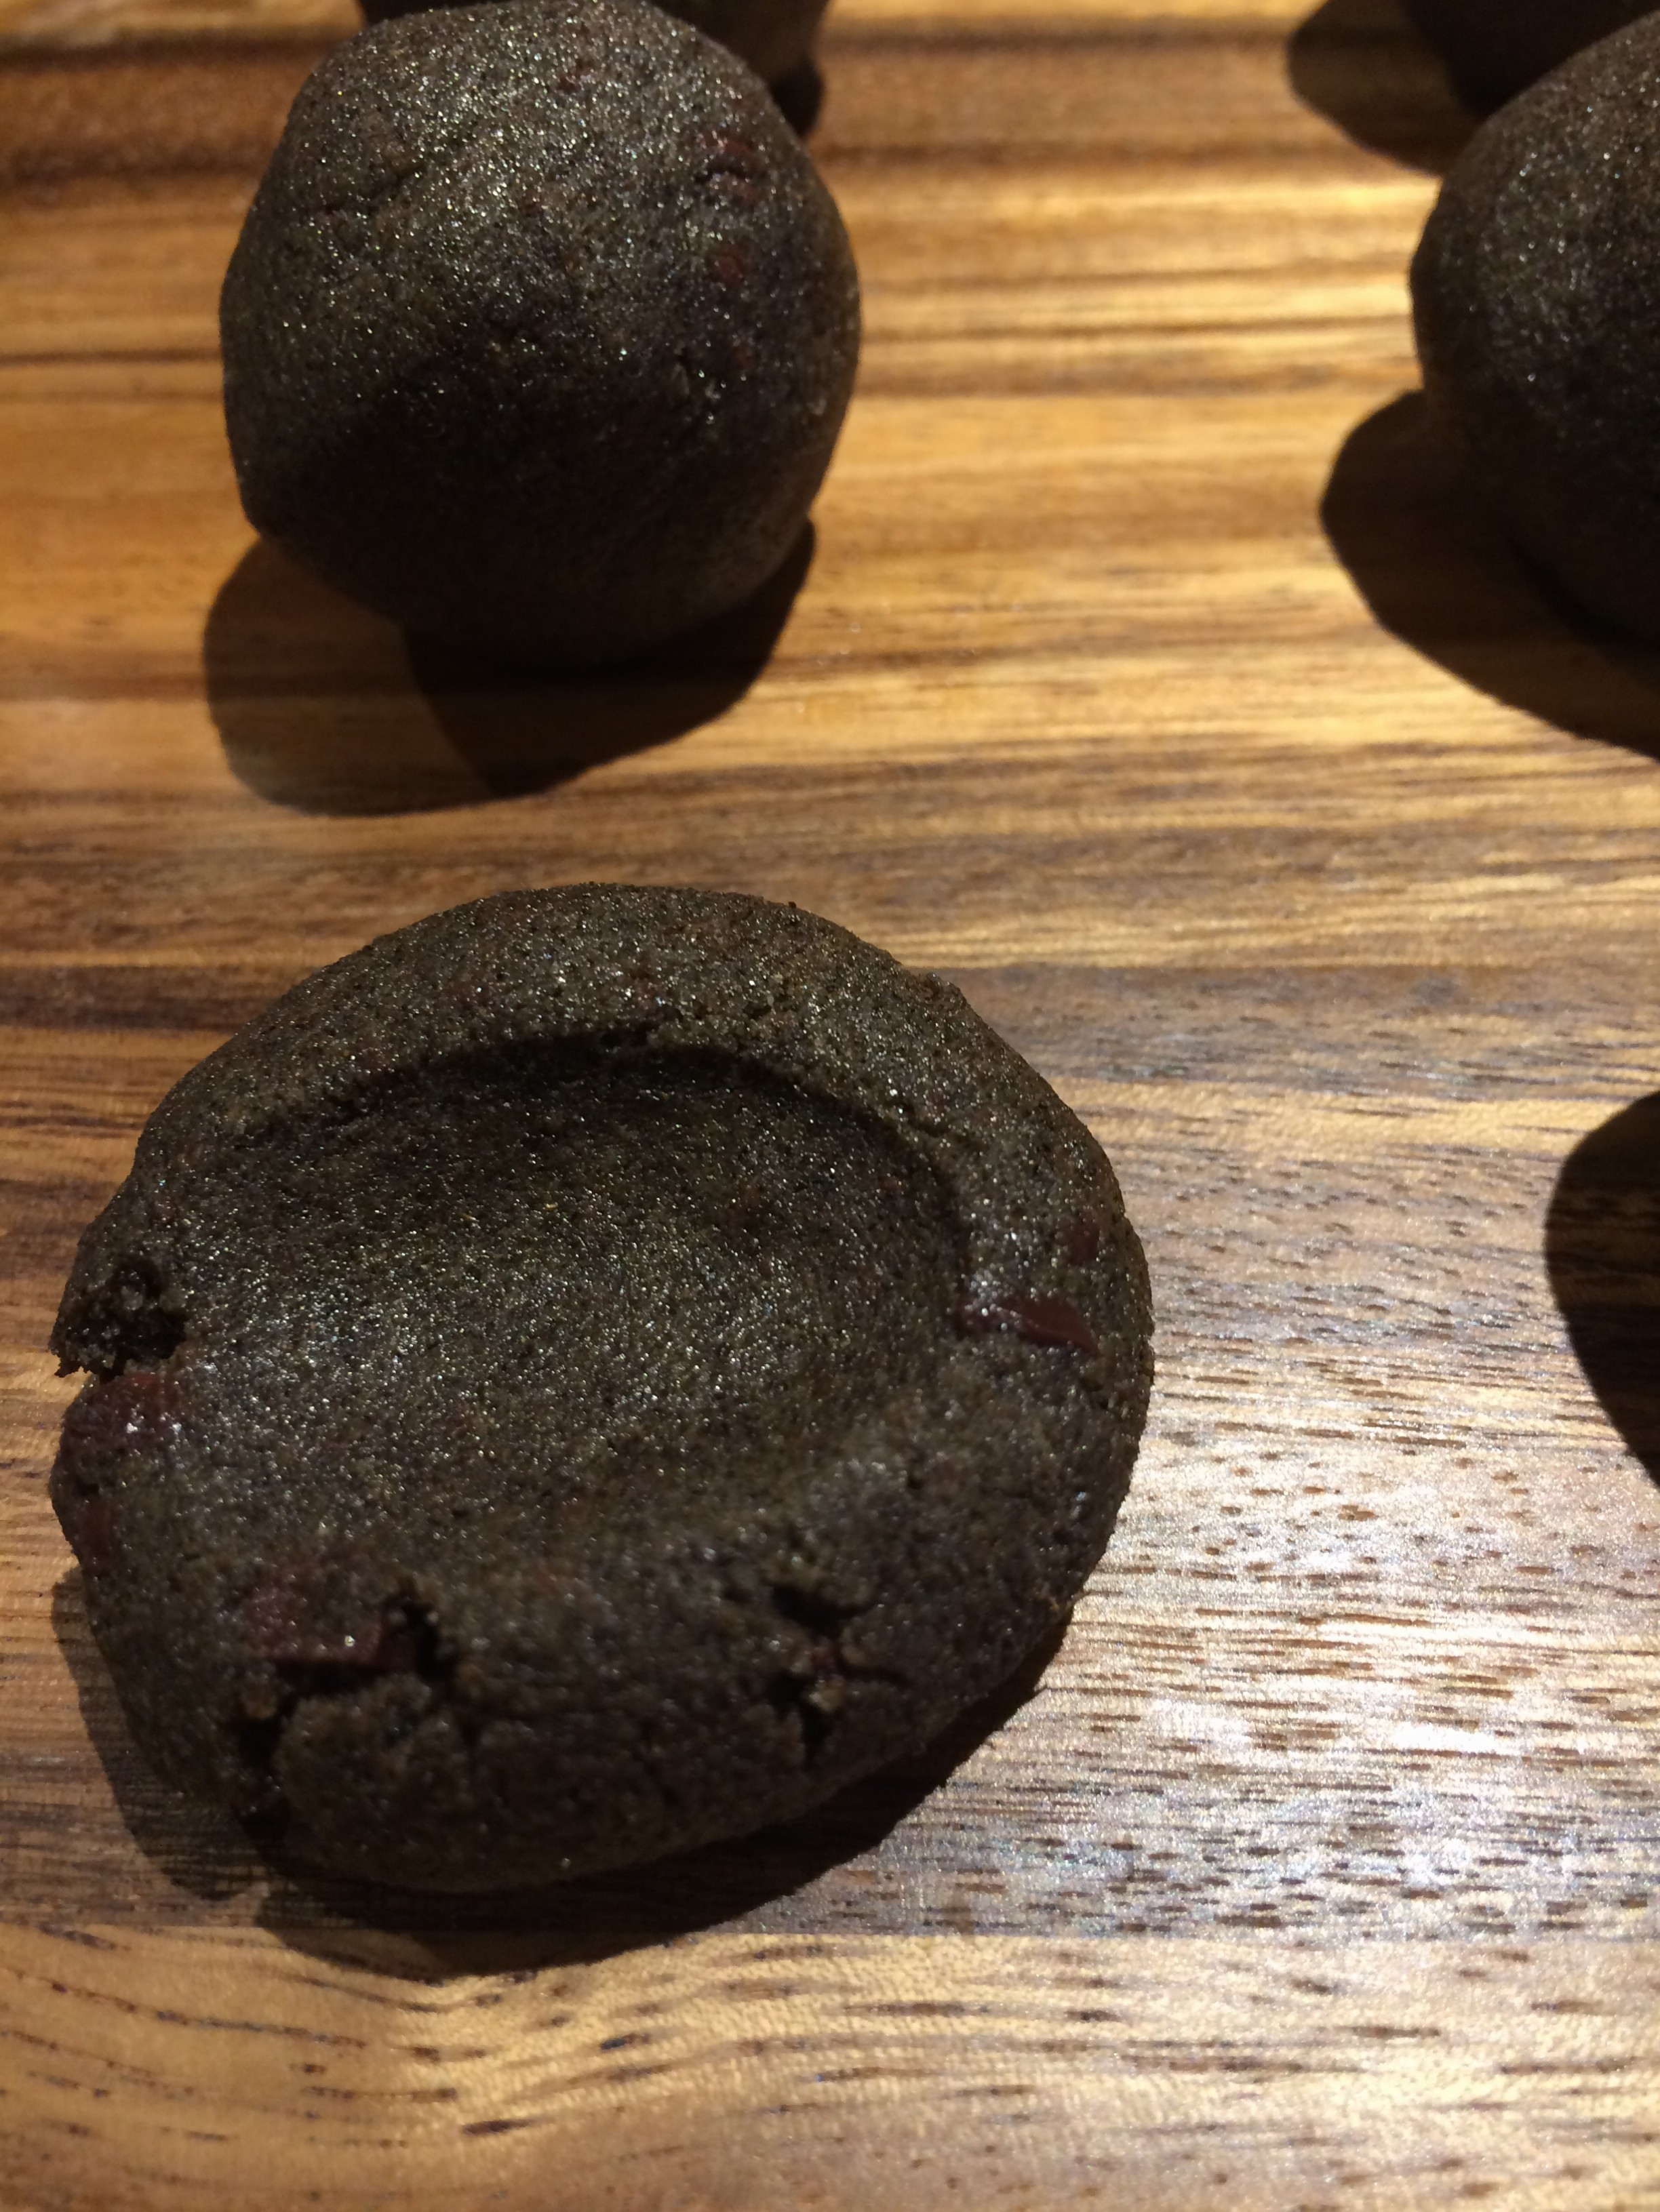
Once the dough is chilled, you can start measuring out large, tablespoon sized, balls of dough onto a parchment lined cookie sheet. You don’t want them to be too big. At this size, they cook up nicely. Also, considering their rich flavor, anything larger, might be overkill. Once they are lined up on the cookie sheet, you can gently press down on them to flatten them out. While you are in-between batches, be sure to keep the dough chilled:)

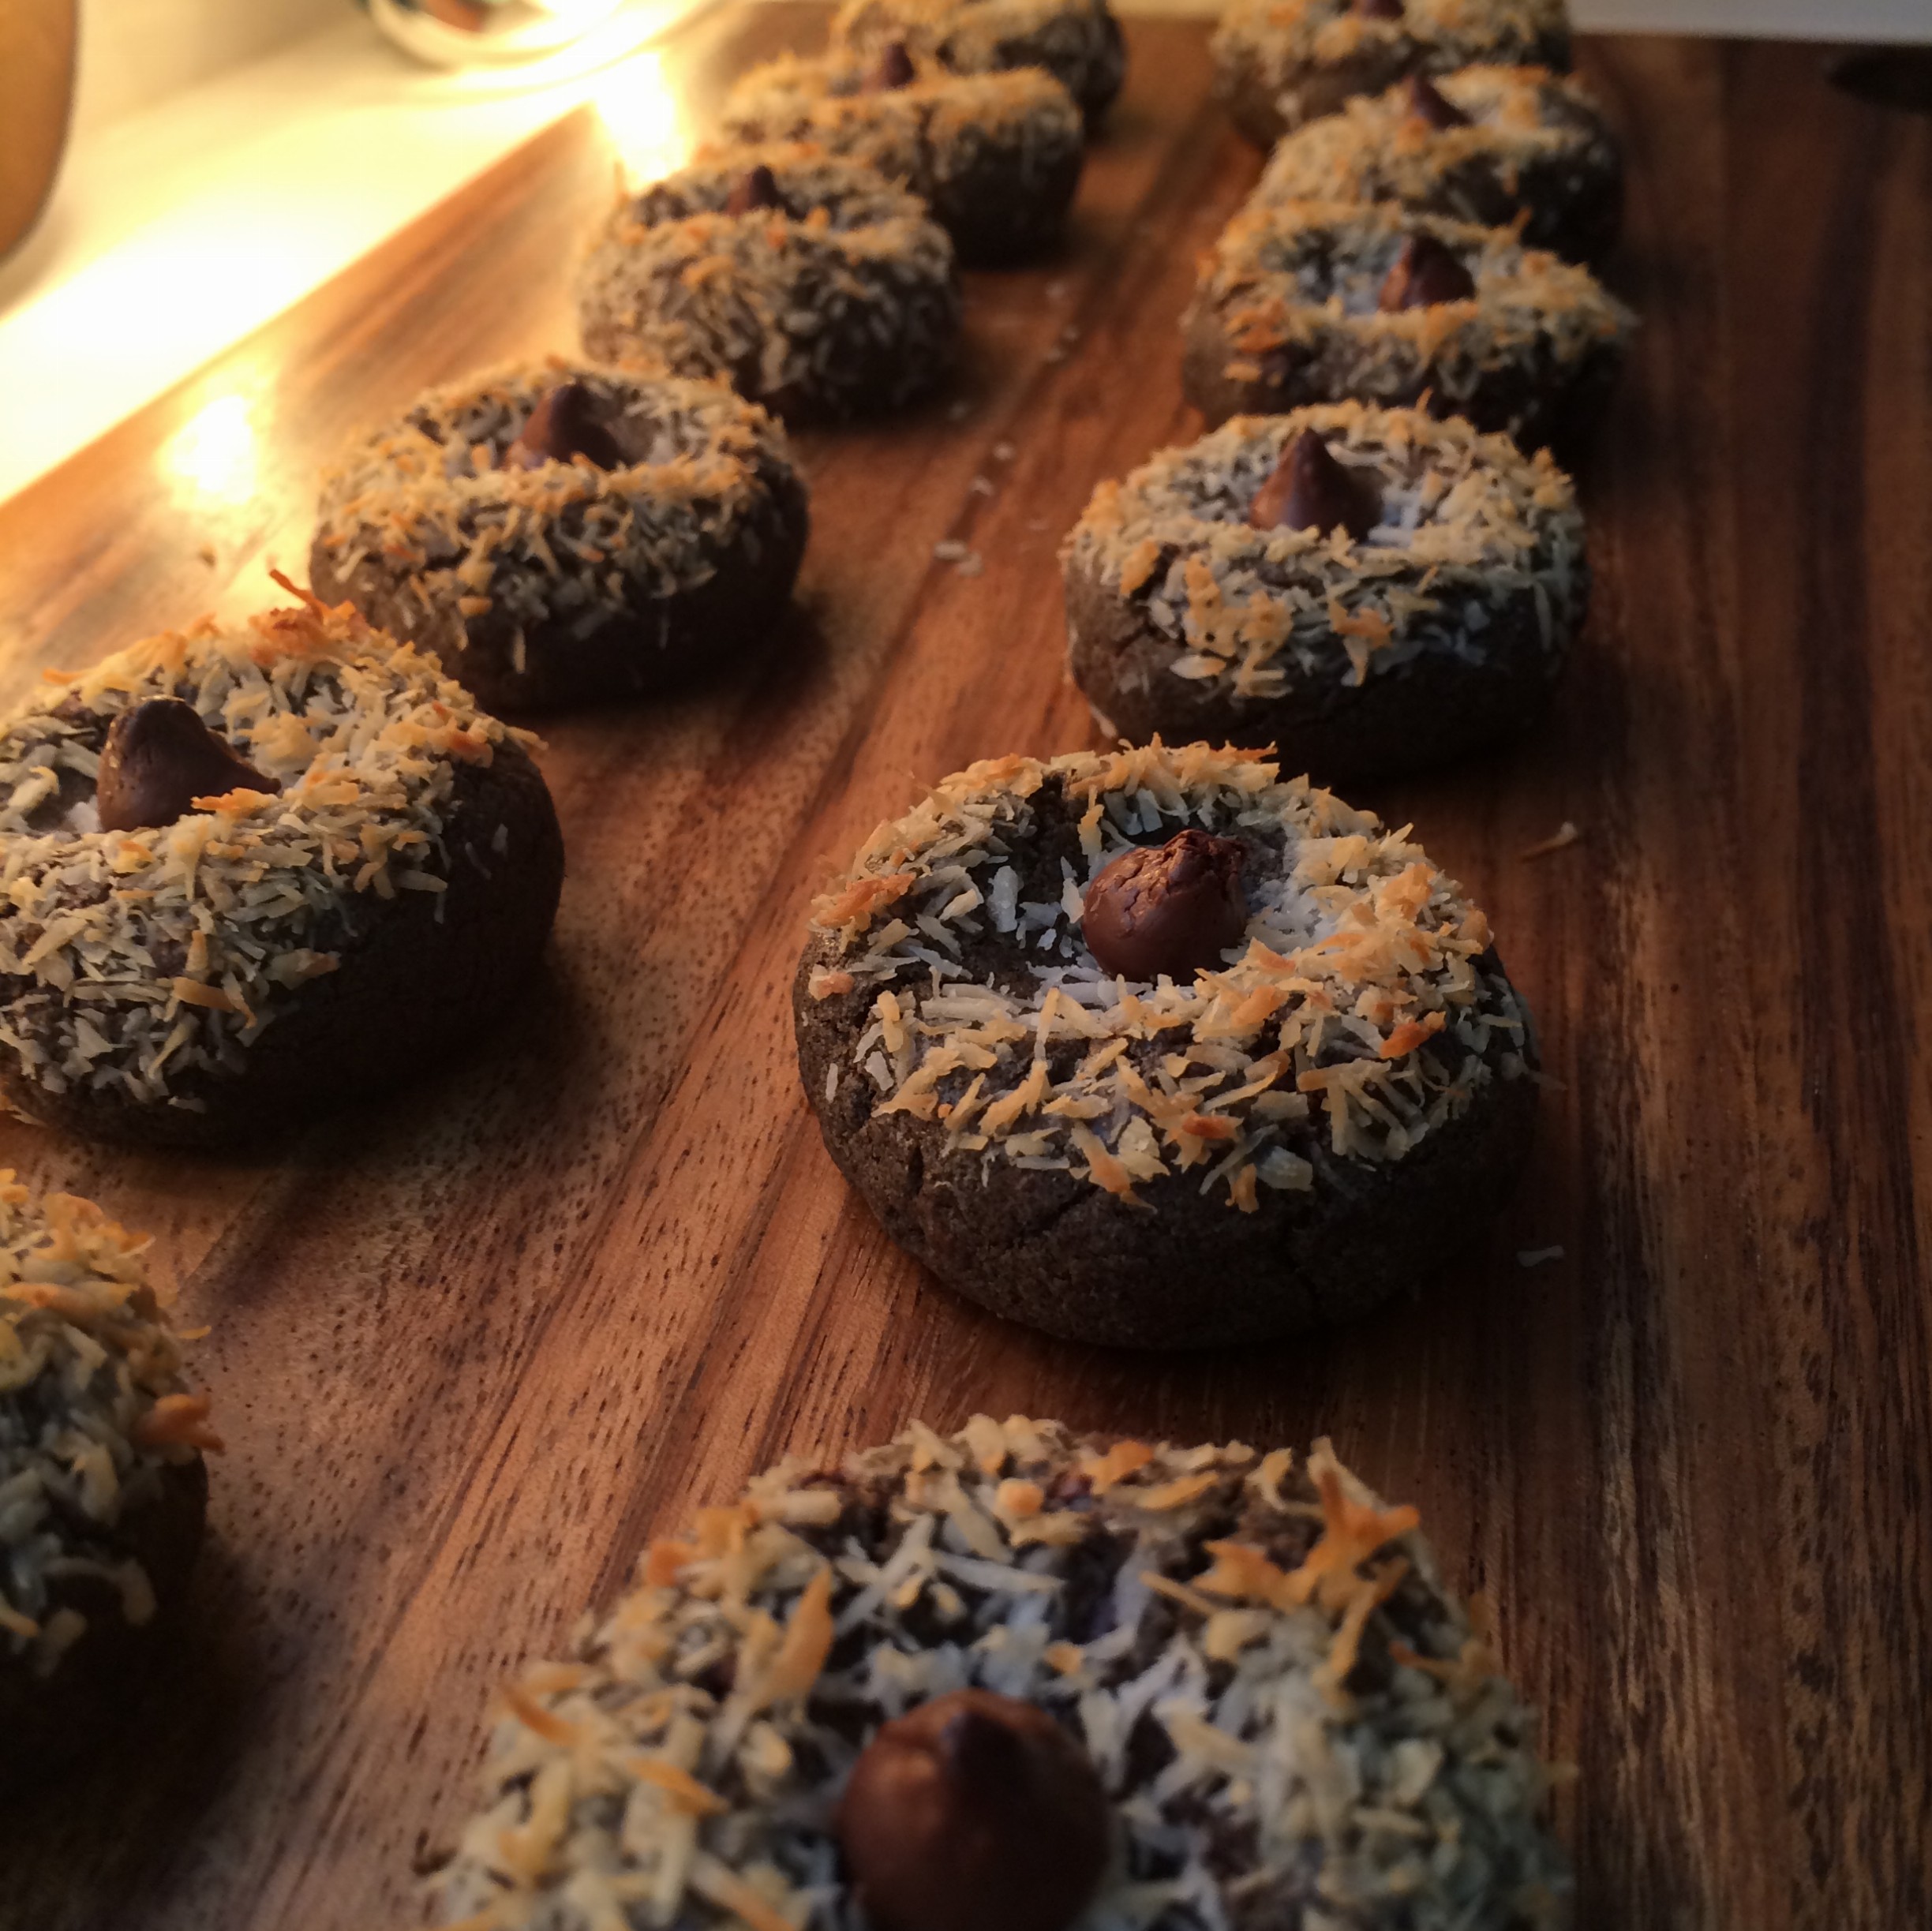
They only take 10 minutes or so to bake up. Straight out of the oven they are sublime. Rich, spicy with intense chocolate flavor, these are not for the faint of heart. Of course, you can tame them down a bit by using less cayenne or by using milkchocolate chips, but I urge you, to give these a try! I found them to be a medium spice level. My husband thought that they were mild. That being said, adjust accordingly!

Warm Mexican Chocolate Cookies with Coconut Ice-cream.

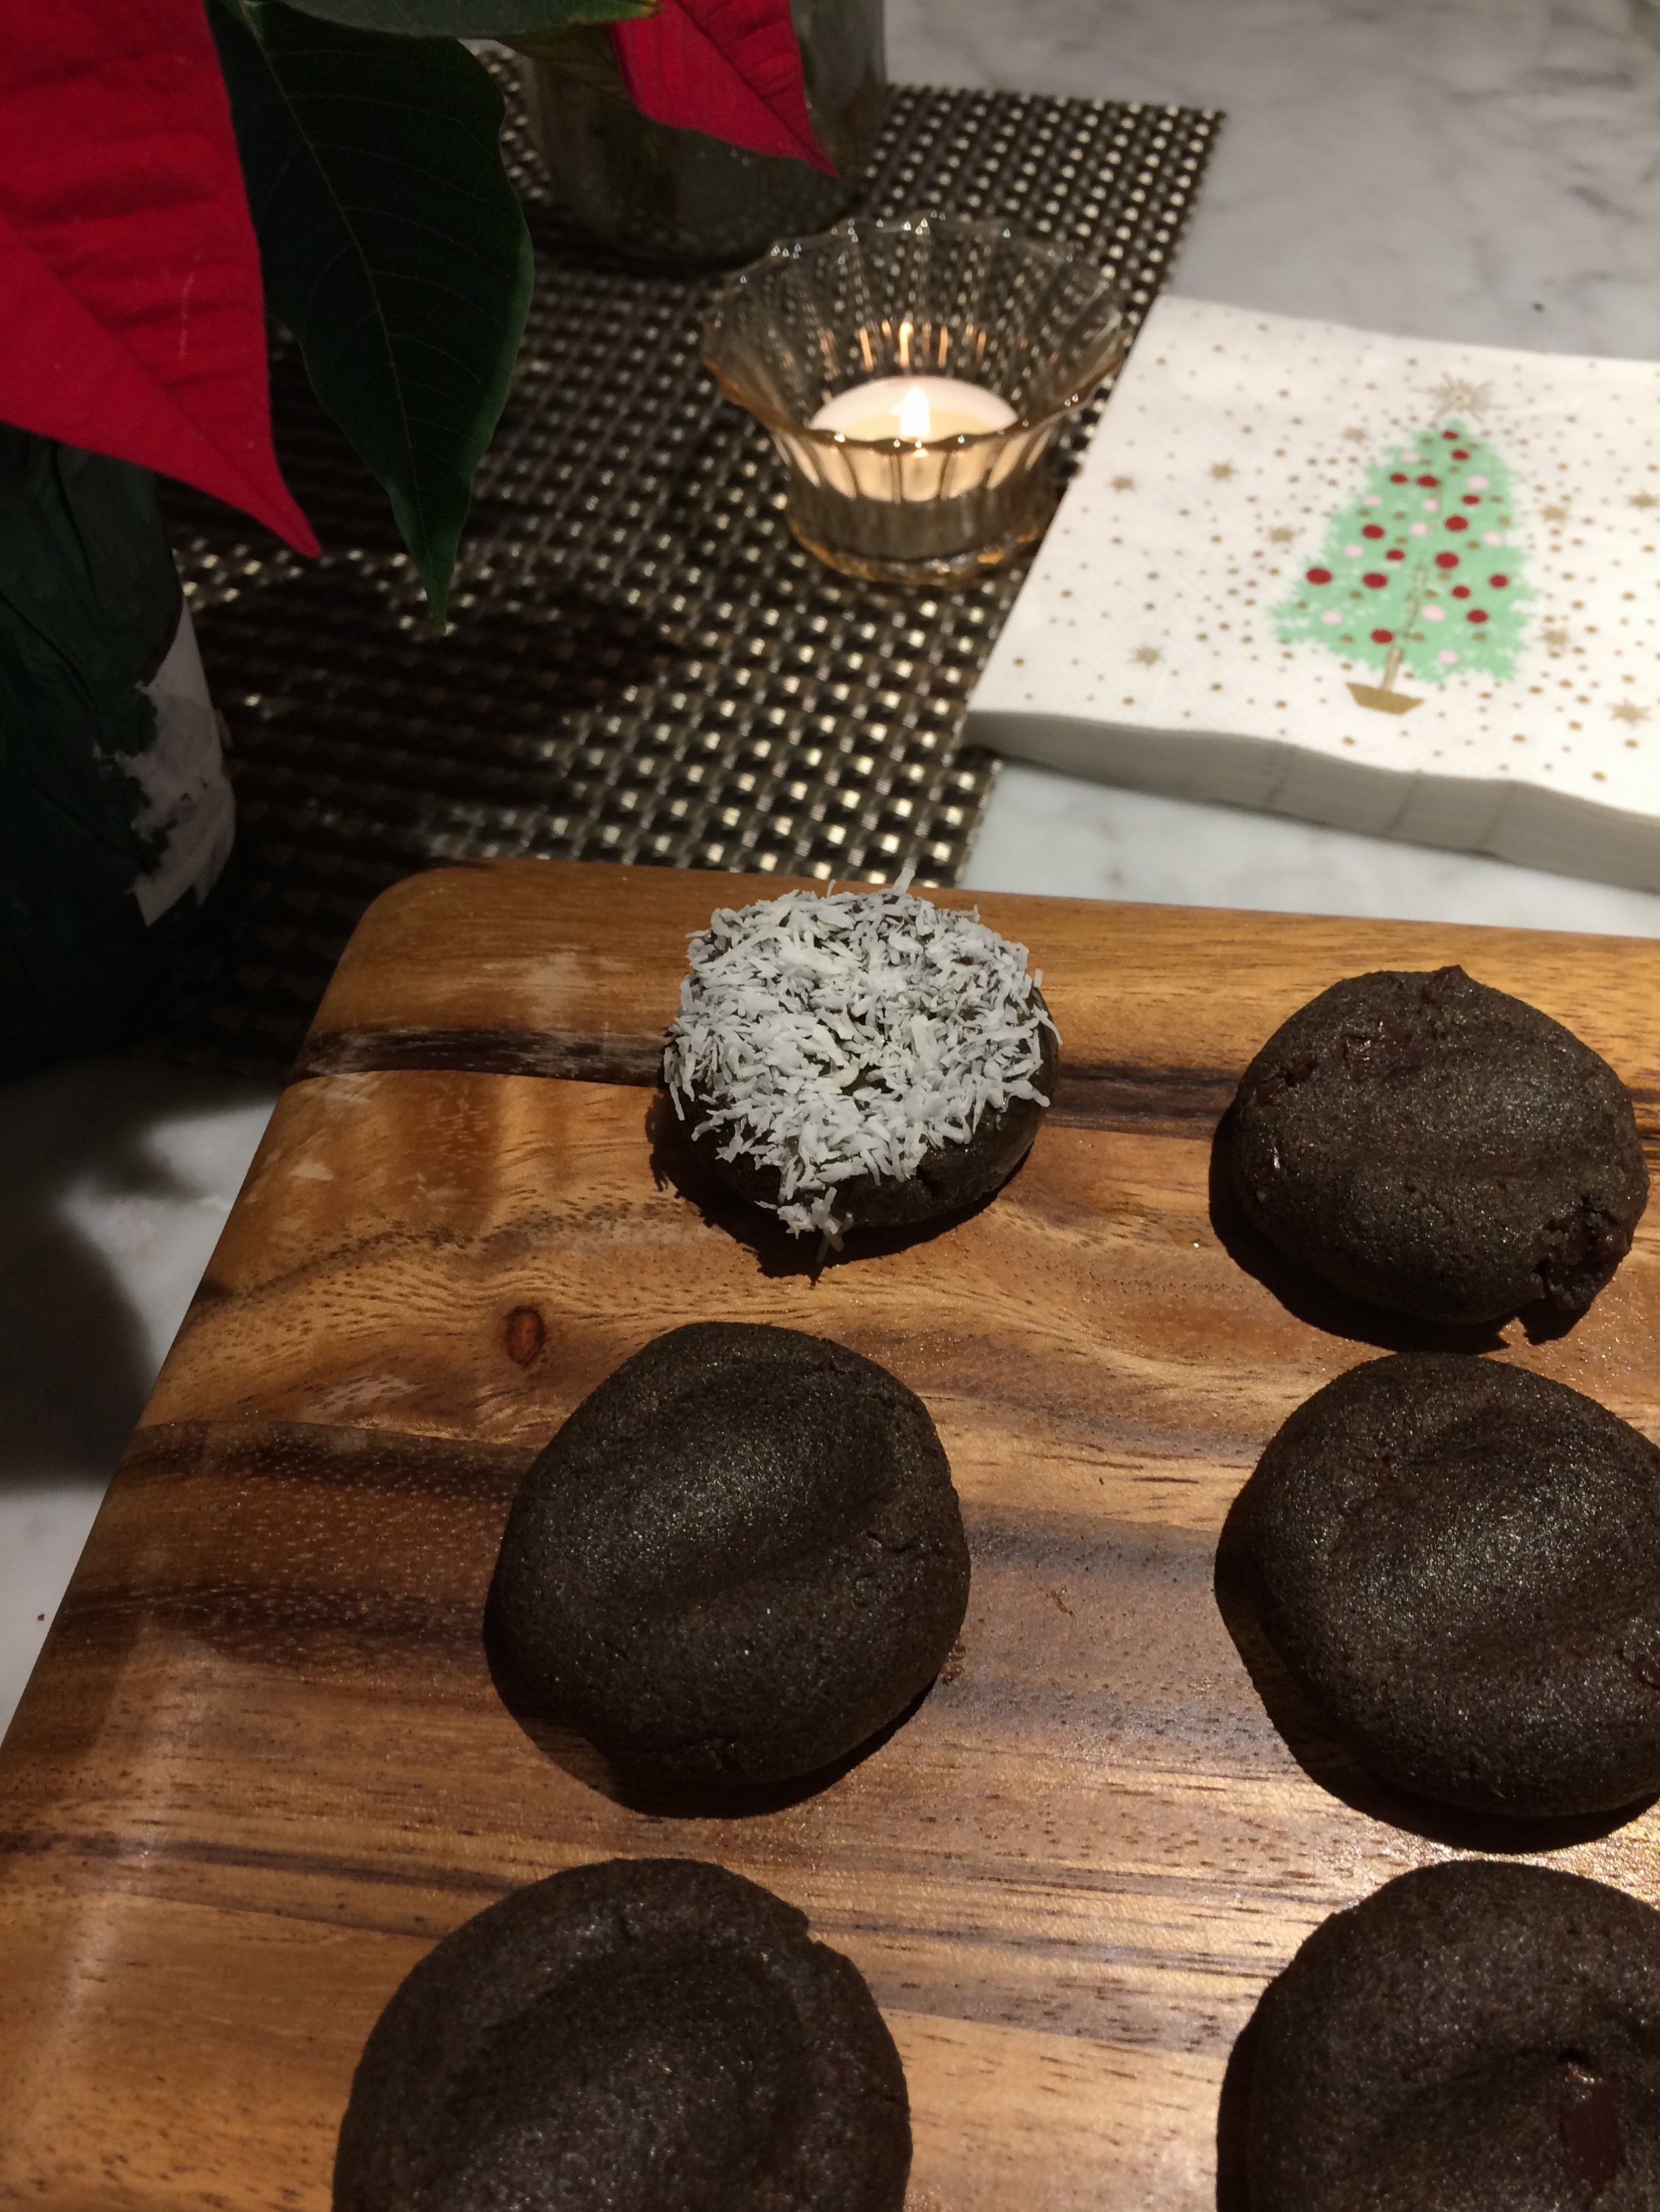
By serving them up warm with a scoop of vanilla or coconut ice cream, you can greatly reduce the heat level, as well! They keep well for days without getting to crispy. 

Mexican Chocolate Cookies
Mexican Chocolate Cookies (GF, Grain Free)
A rich and spicy adult cookie, best served warm, with a scoop of vanilla or coconut ice cream!!
Write a review
Print
Prep Time
10 min
Cook Time
10 min
Total Time
1 hr
Prep Time
10 min
Cook Time
10 min
Total Time
1 hr
Ingredients
  1. 1 cup caster sugar
  2. 1 1/2 cup almond flour or nut flour of your choice
  3. 3/4 cup raw cacao powder
  4. 2 tsp cinnamon
  5. 1/2 tsp cayenne powder
  6. 1/2 tsp baking soda
  7. 1 1/2 tsp baking powder
  8. 1 cup semi sweet chocolate chips, chopped
  9. 1 egg, beaten
  10. 1 TBS vanilla extract
Instructions
  1. Mix all ingredients in a large bowl, using your hands to carefully blend. When dough is fully mixed, roll it into a large ball, cover with plastic wrap and refrigerate for at least 30 minutes. Preheat oven to 350 degrees. Scoop dough into hefty 1 TBS sized balls and place onto a parchment lined cookie sheet. Lightly flatten each cookie with the back of a spoon. Bake at 350 degrees for 10-13 minutes. Do not overcook. Enjoy warm with ice cream of your choice. Will keep, covered, for 5 days.
Notes
  1. Adjust heat according to your preference, by reducing the amount of cayenne or using milk chocolate chips;)
Relish it http://relish.guru/

Bacon and Mushroom Risotto with Greens

It was one of those nights. You know what I mean. The day was cold and wet, I had tons of errands and the traffic was especially bad. (Did I mention that it was Monday?) I looked at the clock. It was 5:30, I was hungry and we were low on groceries. Agh! I would have to make due with the slim pickings in my pantry.

Bacon
Bacon

My mind kept thinking of the small package of bacon, sitting in the refrigerator drawer. Yes. Bacon. Something that we rarely purchase, except during the holidays. This would be the flavor booster I needed for my meager Monday night dinner.

There are a handful of pantry staples that one always needs to keep plentiful, especially in the winter months. Being gluten free, my winter staples are rice, lentils, beans and polenta. In a pinch, I can make a hearty, tasty meal, with any of these items!

Arborio Rice
Arborio Rice

I decided that Arborio rice (rice for risotto) would be a perfect base for this cozy, midweek dinner.

Next I took a peak into my refrigerator and quickly found bacon, onion, greens (a mix of shaved kale and brussels sprouts) and mushrooms.

Mushrooms, Greens, Hazelnuts and Onions.

These veggies were the perfect combination for the salty bacon. But, there was something missing. I decided to add some hazelnuts for added interest and texture.

It’s important to cook these ingredients separately from the risotto, otherwise, they get over cooked and mushy. So, sauté the chopped bacon, onions, greens, nuts and mushrooms in the risotto pan.

Sauteed bacon, onions, mushrooms, hazelnuts and greens.

The bacon should produce a sufficient amount of grease to cook all of these ingredients! But if the mixture starts to stick to the pan, add a drizzle of olive oil and/or deglaze with a little chicken broth or white wine. (I tend to use high quality, uncured, nitrate free bacon. It’s worth it.) Once everything is cooked through, remove the mixture from the pan.

Now, it’s time to make the risotto. In the same pan, melt 1TBS of butter. Add all of the rice and sauté in the butter for 5 minutes.

Toast the risotto.
Toast the risotto.

This adds a nice toasty flavor to the rice. Now, add a total of 5 cups of chicken broth, one cup at a time, stirring regularly. The rice will slowly cook and soak up the broth. As the mixture dries up or starts to stick to the pan, add another cup of broth. It will take 20-30 minutes. Be patient. Enjoy the process. You will be rewarded;)

The final steps!!
The final steps!!

When you finally add the last cup of broth, go ahead and add the bacon mixture. Continue stirring and salt if needed. When the rice looks nearly done, add 1/4-1/2 cup of shredded Parmesan cheese. Stir a bit more. You know its done, when it starts to stick to the bottom of the pan. Serve with a sprinkle of Parmesan cheese and a simple salad!


Bacon and Mushroom Risotto with Greens
Serves 4
A simple and hearty winter dinner!
Write a review
Print
Prep Time
10 min
Cook Time
30 min
Total Time
40 min
Prep Time
10 min
Cook Time
30 min
Total Time
40 min
Ingredients
  1. 1/4-1/2 package of bacon, chopped
  2. 1/2 onion, chopped
  3. 2 cups of greens of your choice, shaved (kale, spinach, arugula)
  4. 2 cups of mushrooms of your choice
  5. 1/2 cup chopped nuts of your choice
  6. 1/4 cup of chicken stock or white wine to deglaze
  7. 1 drizzle of olive oil, if needed
  8. 1&1/2 cup Arborio Rice
  9. 5 cups chicken broth
  10. 1/4-1/2 cup Parmesan cheese
Instructions
  1. Saute bacon, onion, greens, hazelnuts and mushrooms in a large sauce pan, until cooked through. If the mixture becomes too dry, add 1/4 cup of chicken broth or white wine to deglaze the pan. Remove from pan and place to the side. Melt 1 TBS of butter in the same pan and add the Arborio rice, cooking it for 5 minutes, or so, until its toasty. Now begin adding the chicken stock, 1 cup at a time, stirring regularly until the rice is completely cooked. This should take about 20-30 minutes. Add the reserved bacon mixture when you add the final cup of chicken stock. Continue stirring. Add the parmesan cheese. Continue to stir. The risotto is done when it starts to stick to the bottom.
Notes
  1. Any greens or combination of veggies can be used. Any dry cheese will work, as well. Have fun with your favorite flavor combinations!
Relish it http://relish.guru/

Olive Roasted Cauliflower with Feta

I store my spices in a drawer. It makes it easier to organize;)

Now that my herb garden is no longer bursting with fragrant blossoms, I rely on my spice drawer being well stocked. As the winter months draw near, my spice drawer becomes one of my greatest allies in the kitchen. It’s loaded with spices from nearly every continent on earth. Spices such as cumin, coriander, cardamom, turmeric, curries and smoked paprika get a serous workout, in the cold winter months. Their flavors are satisfying, warm and complex.

This weekend, the weather in the Pacific Northwest was relentless. Heavy rain, wind and cold kept us indoors, near the warmth of the fireplace. Finally burned out on roasted squash and sweet potatoes, I turned to the humble cauliflower.

The humble cauliflower.

Not being discouraged by its lack of color (how boring can this vegetable be?!), I decided it would be my canvas for something wonderful.

I chopped the cauliflower into medium sized, manageable pieces and placed them on a large cookie sheet. Now what? I needed to add something flavorful to add interest to this seemingly boring base.

It's starting to come together!
It’s starting to come together!

I had some leftover pitted olives from our dinner party the week before. Perfect! These olives happened to be lemon and rosemary brined. I added the olives, whole, with their brine, to the cookie sheet, tossed it all together and drizzled some olive oil and a heavy pinch of salt. It seemed too simple, so I added lemon juice, to compliment the flavors of the brine.

Now, it was time to add a spice. I could add any variety of spices, but really, when in doubt, (or for simplicity’s sake), I often go to smoked paprika. It’s complex on its own, yet it blends well with Mediterranean, Latino and Central European flavors.

Smoked Paprika
Smoked Paprika

Plus the smoky flavor adds extra depth to roasted vegetables. So I added 2 TBS over the top and set it all into the oven to roast.

20 minutes later, I checked on it. The fragrance was amazing. All it needed was a quick stir and a few minutes to finish it off. This is the perfect time to add raw nuts. I love adding nuts to my roasted veggies. They add texture, interest and protein to any vegetarian dish.

Roasting up nicely!
Roasting up nicely!

So I tossed in some pine nuts, and a more olive oil to keep things from getting too dry. After 3 minutes back in the oven. It was done…..or was it?

I felt like I needed to continue turning this dish into comfort food….my kind of comfort food. I don’t know about you, but for me cheese is the answer. So I added a hefty handful of crumbled feta. I chose feta because it’s salty, crumbly and works perfect with the olives.

It's done!
It’s done!

All that’s left is a sprinkle of smoked paprika and some chopped parsley. It was delicious. We ate it all, so I’m not sure if it makes good leftovers;)

Olive Roasted Cauliflower with Feta
Serves 3
A hearty side dish or light main entree, full of flavor.
Write a review
Print
Prep Time
10 min
Cook Time
20 min
Total Time
30 min
Prep Time
10 min
Cook Time
20 min
Total Time
30 min
Ingredients
  1. 1 head of cauliflower chopped into medium sized chunks
  2. 1 1/2- 2 cups of pitted olives of your choice (Rosemary lemon brined)
  3. 1 lemon, juiced
  4. 2 TBS smoked paprika
  5. 1/4 cup pine nuts
  6. 1/8 cup of olive oil, or more, if needed
  7. 2 tsp salt
  8. 3 TBS chopped parsley to garnish
Instructions
  1. Preheat oven to 425 degrees. Wash and dry cauliflower. Chop into medium sized chunks. Add to large cookie tray and toss with olives (brine included), olive oil, lemon juice, salt and paprika. Make sure cauliflower is evenly coated. Roast for 15 min, or just long enough for cauliflower to get browned. Remove from oven and toss in pine nuts. Add more olive oil and lemon juice, if cauliflower looks dry. Roast for an additional 3 min, just to brown the pine nuts. Remove from oven, mix in feta cheese and garnish with parsley and a sprinkle of paprika. Serve warm!
Relish it http://relish.guru/

Buckwheat Chocolate Thumbprint Cookies


Buckwheat Chocolate Thumbprint Cookies

Every year, for the Christmas holiday, my mom and grandmother would make a variety of beautiful and tasty cookies for us to enjoy during the holiday season. Mom would stack them high on beautiful platters, in the formal dining room, for us to enjoy. One of my favorite cookies is the jam thumbprints cookies. This season, my goal was to try to recreate them, into a GF version. I found this simple recipe from A Sweet Spoonful while searching Pinterest. As always, I feel that simple ingredients make the best foods, so I gave it a try, with a few adaptions.

Buckwheat Flour
Buckwheat Flour

The base of these cookies is buckwheat flour. This earthy, nutty flour has a slightly grainy texture, almost sandy and is naturally GF.

Chopped up chocolate chips!

Since the only moisture in the batter comes from the butter and egg yolks, I decided to add chopped up chocolate chips to the batter, to distribute more oil and hopefully, promote more moisture into the cookie.

Maple Syrup!
Maple Syrup!

I also used maple syrup, instead of sugar, to boost the moisture content. I used my hands to incorporate all of the ingredients. The dough turned out perfect.

Getting ready to thumbprint the dough....
Getting ready to thumbprint the dough….

Now the fun begins! Roll the dough into hefty, 1 tablespoon sized balls. Carefully, make a thumbprint mark on each ball.

Thumbprint!
Thumbprint!

Then, dip each cookie into the reserved egg whites, then into shredded coconut (nuts would work well too). The egg whites act as a glue for the coconut. Then add a single chocolate chip to the thumbprint in each cookie. Now, they are ready to bake!

Apply Coconut!
Apply Coconut!

Note, because there’s maple syrup in the recipe, the bake time was reduced significantly, to reduce excessive browning.

My oven runs hot, so they only took 12 minutes to bake. You know they are ready when the coconut just starts to lightly brown. Aren’t they beautiful!?

Buckwheat Chocolate Thumbprint Cookies

Though the added chocolate and maple syrup add moisture, these tend to retain a dry texture, so they are best enjoyed, fully cooled with a hot cup of coffee or tea;) Next time, I might use melted butter or coconut oil as the “glue” for the topping.

Buckwheat Chocolate Thumprint Cookies
Serves 16
A festive GF chocolate cookie.
Write a review
Print
Prep Time
30 min
Cook Time
12 min
Total Time
45 min
Prep Time
30 min
Cook Time
12 min
Total Time
45 min
Ingredients
  1. 1/2 cup (4 ounces) room temperature unsalted butter
  2. 1/3 cup maple syrup
  3. 2 large eggs, separated
  4. 1 teaspoon vanilla extract
  5. 1/2 teaspoon kosher salt
  6. 1 1/3 cup buckwheat flour
  7. 1/4 cup chopped chocolate chips
  8. 1/4 cup shredded coconut
  9. Extra chocolate chips for garnish
Instructions
  1. Preheat the oven to 375 F. Line a large baking sheet with parchment paper.
  2. In a medium bowl, cream the butter and maple syrup together, using your hands. Add the egg yolks, vanilla extract, salt and flour. Mix well and knead together a few times with your hands to further incorporate the dough. Add chopped chocolate chips.
  3. Roll dough into 1 TBS sized balls.
  4. Whisk the egg whites. Place coconut shallow bowl.
  5. Place balls on baking sheet and using your thumb, press lightly, forming a thumbprint. Carefully place each cookie in egg whites and then dip in the coconut. Place a chocolate chip into each thumbprint.
  6. Bake for 12-15 minutes or until the coconut has turned a golden brown. The cookies should feel soft and they will firm up as they cool. Cool on cookie sheet for 15 minutes.
Adapted from A Sweet Spoonful
Relish it http://relish.guru/

Eating My Way Through Chile

Gorgeous view of Santiago

After our 15 hour journey into Santiago, I leave Jason at the hotel to nap and head out into the streets of Santiago! We are staying in the fantastic, historical area known as Barrio Lastarria. I love our hotel.

It’s got tons of charm, character, great service and a yummy breakfast is included. It’s called The Lastarria Hotel. It’s also in a great location. Just a 5 minute walk, the streets are loaded with cafes and restaurants, the area is filled with the buzz of people.

It is lunchtime! I walk up and down the tiny streets and stumble on a sweet courtyard with 8 options for lunch. I choose the quaint looking restaurant Casa Lastarria.

It’s modern looking, with a rustic edge and the menu is filled with Chilean specialties. I quickly decide to start with a glass of Spumante (sparkling wine) and some ceviche.

A glass of Spumante and ceviche.

The ceviche is simply made with white fish, citrus, red onion and cilantro. Tasty and uncomplicated. It is the perfect start to lunch on the warm Spring day! They do not serve ceviche with bread, crackers or chips, but the quantity is huge and I quickly grow full. I decide to take a break for a bit and people watch for awhile. I still have a main entree coming?

Pastel de Choclo
Pastel de Choclo

Next is the Pastel de Chocolo (Corn Pie). It is a pastel food based on sweetcorn or choclo, meaning “tender corn”. First documented as a dish in Peru, it is now a typical Chilean dish. It is also similar to pastel de elote, found in Mexican cuisine, and to the English corn pudding. Pastel de choclo is traditionally served in an earthenware bowl in an individual portion. The filling usually contains ground beef, chicken, raisins, black olives, onions or slices of hard boiled egg. It is soft the whole way through, with no crust and a lightly sugared and crisped top, the perfect mix of savory and sweet. Mine is served with a side of rustic salsa. Not spicy or overly seasoned, it’s simple and good. I’ll try to recreate this perfect comfort food when I get home!

After lunch, I swing by the hotel to get Jason. It’s actually a warm Spring day in Santiago, so it’s perfect for checking out the sights! We decide to go up to San Cristobal Hill, overlooking Santiago. The view is amazing. By the time we get back to the hotel, we are ready for helado (ice cream). It seems to be very popular here. At least 4 heladarias in our neighborhood. One place, in particular, stands out.

They sell ice cream on a stick, in many different flavors. They are actually, much lighter than ice cream, icy, more like a popcycle. So good! Jason gets the dolce de leche and I get the salted caramel. I completely recommend this place. It’s located in an upscale hotdog joint (strange, I know) called Hogs.

When we arrive back to our hotel, we find out that the hotel staff has accidentally booked us at the best restaurant in Chile called Borago.

Borago
Borago

I had tried earlier in the week to get us in, but it was full. On some miracle, they were able to get us in! We arrive for our 9pm reservation, having no clue to the meal that we have in store for us…18 courses of regionally inspired and foraged food, artistically presented and painstakingly prepared. It was amazing. I’ll post some of the prettiest pictures here, but I honestly cannot begin to accurately describe what we were consuming.

All I know, is that it was amazing! Each dish is brought out by the chef who prepared it, was intricately described. It was the best meal I’ve ever had! Thank you Borago!

The next day, we decided to go to the Mercado Central. Built in 1872, it is considered to be one of the best fish markets in the country. It’s a very popular destination for lunch.

I cruised around the entire market, taking pictures and chatting with the fish mongers. It is huge, with lots of restaurants surrounding it. Unfortunately, Jason got grossed out with the smell of fish (even though the restaurant area was fine), so we decided to eat elsewhere.

We walked back to the Lastarria neighborhood where I had made a backup plan for lunch at Tambo. This is a Peruvian restaurant that’s very popular with the locals, so reservations are a must! The decor is pretty simple and modern, not as inviting as some of the other cafes on that street, but don’t let it fool you. This place has the best ceviche I’ve ever tasted.

I savored EVERY. LAST. DROP. And then finished my lunch with a Pisco Sour. I’d go back here in a heartbeat!

After two relaxing days in Santiago, we begin our journey to Patagonia. It’s a 4 hour plane ride further south and 4.5 hour drive to our hotel, Explora. The food at Explora was good, but simple. We were on a fitness retreat and they are appealing to the adventurers and healthy crowd.

At dinner, we ate tons of seafood such as grouper, salmon, conger and crab. We also had a fair amount of lamb and beef. For lunch we had simple soups and a variety of quinoa salads, which I extremely enjoyed while we were on the trail!

image

One of the best highlights was the Patagonian feast that awaited us after a particularly grueling, freezing cold, wet hike! The meal was served in a cabin that was solely heated by the large BBQ/ fireplace in the middle. It was warm, dry and smelled of the bbq’d meat that had been cooking.

Unfortunately, being gluten free meant that I couldn’t eat the empanadas. They served two types, corn with black olives and spicy ground beef. Everyone raved. They also served a sausage similar to chorizo, but not as spicy, bbq’d chicken, beef and a whole lamb. To balance out the meal, they offered us a wide variety of salads too. It was my favorite meal in Patagonia!

Lastly, our trip would not be complete if I didn’t mention drinking caffeine rich Mate with the Gauchos, after an afternoon of horseback riding. 

And nibbling on indigenous berries (juicy and tart) and fungus (very similar to a mushroom….earthy and sweet) while hiking the trails.

Yes, we are brave!