Pickled Beets, Cucumbers, Shallots and Such!

I have cucumbers and beets coming out of my ears! So I’ve been working on ways to efficiently use them up! So far, the best solution has been to quick pickle them. It’s quick, easy and allows you to enjoy them for a few weeks. They also look beautiful, displayed in the fridge and would be a great, last minute hostess gift:)

This week's harvest!
This week’s harvest! I have cucumbers and beets coming out of my ears! 

No matter what vegetable I’m using, each batch is made with an acid (vinegar and/or citrus juice), a TBS of honey or sugar and is differentiated by the combination of vinegar and/or citrus juice and herbs used.

Rose vinegar from the farmers market:)

For the cucumbers:
I simply wash, peel and slice the cucumbers. You can slice them any thickness you choose, just realize that they soften up substantially in the ‘pickling’ process. I’ve made 2 different batches, so far. One with seasoned rice vinegar, which is perfect on an Asian salad with sesame oil, mandarin oranges and greens….or simply on their own! The other batch was made with champagne vinegar and basil blooms.

For beets:
The beets are washed, peeled and cut into 1-2 inch slices. Then I steam them for 10-20 minutes, depending on the type of beet and the size of the slices. You can tell when they are ready by piercing them with a fork. They will be tender when they are done.

For the beets, I’ve been using champagne vinegar, with citrus juice of 1 lemon, grapefruit or orange. The citrus is just a perfect addition to the beets. For herbs, basil, mint, chives and thyme, all work beautifully.

You only need to fill the container half way with vinegar, lay it on it’s side in the fridge and rotate every few hours to evenly distribute the flavor. They develop the best flavor when soaked overnight.

Alternately, you don’t have to steam the beets! You can simply peel them down into ribbons or shred and pickle them to make a raw beet salad. The same process is effective for radishes and turnips;)

The beets are my favorite! I’m absolutely in love with their gorgeous color! I’ve been adding them to my quinoa salad, with feta, nuts and a hefty spoon of pesto and greens. Or they are perfect on their own, with mozzarella, a sprinkle of basil and a drizzle of olive oil, for a variation of a caprese salad. Plain Greek yogurt is also a good accompaniment. Even people who tell me they HATE beets, love these!

Other vegetables:
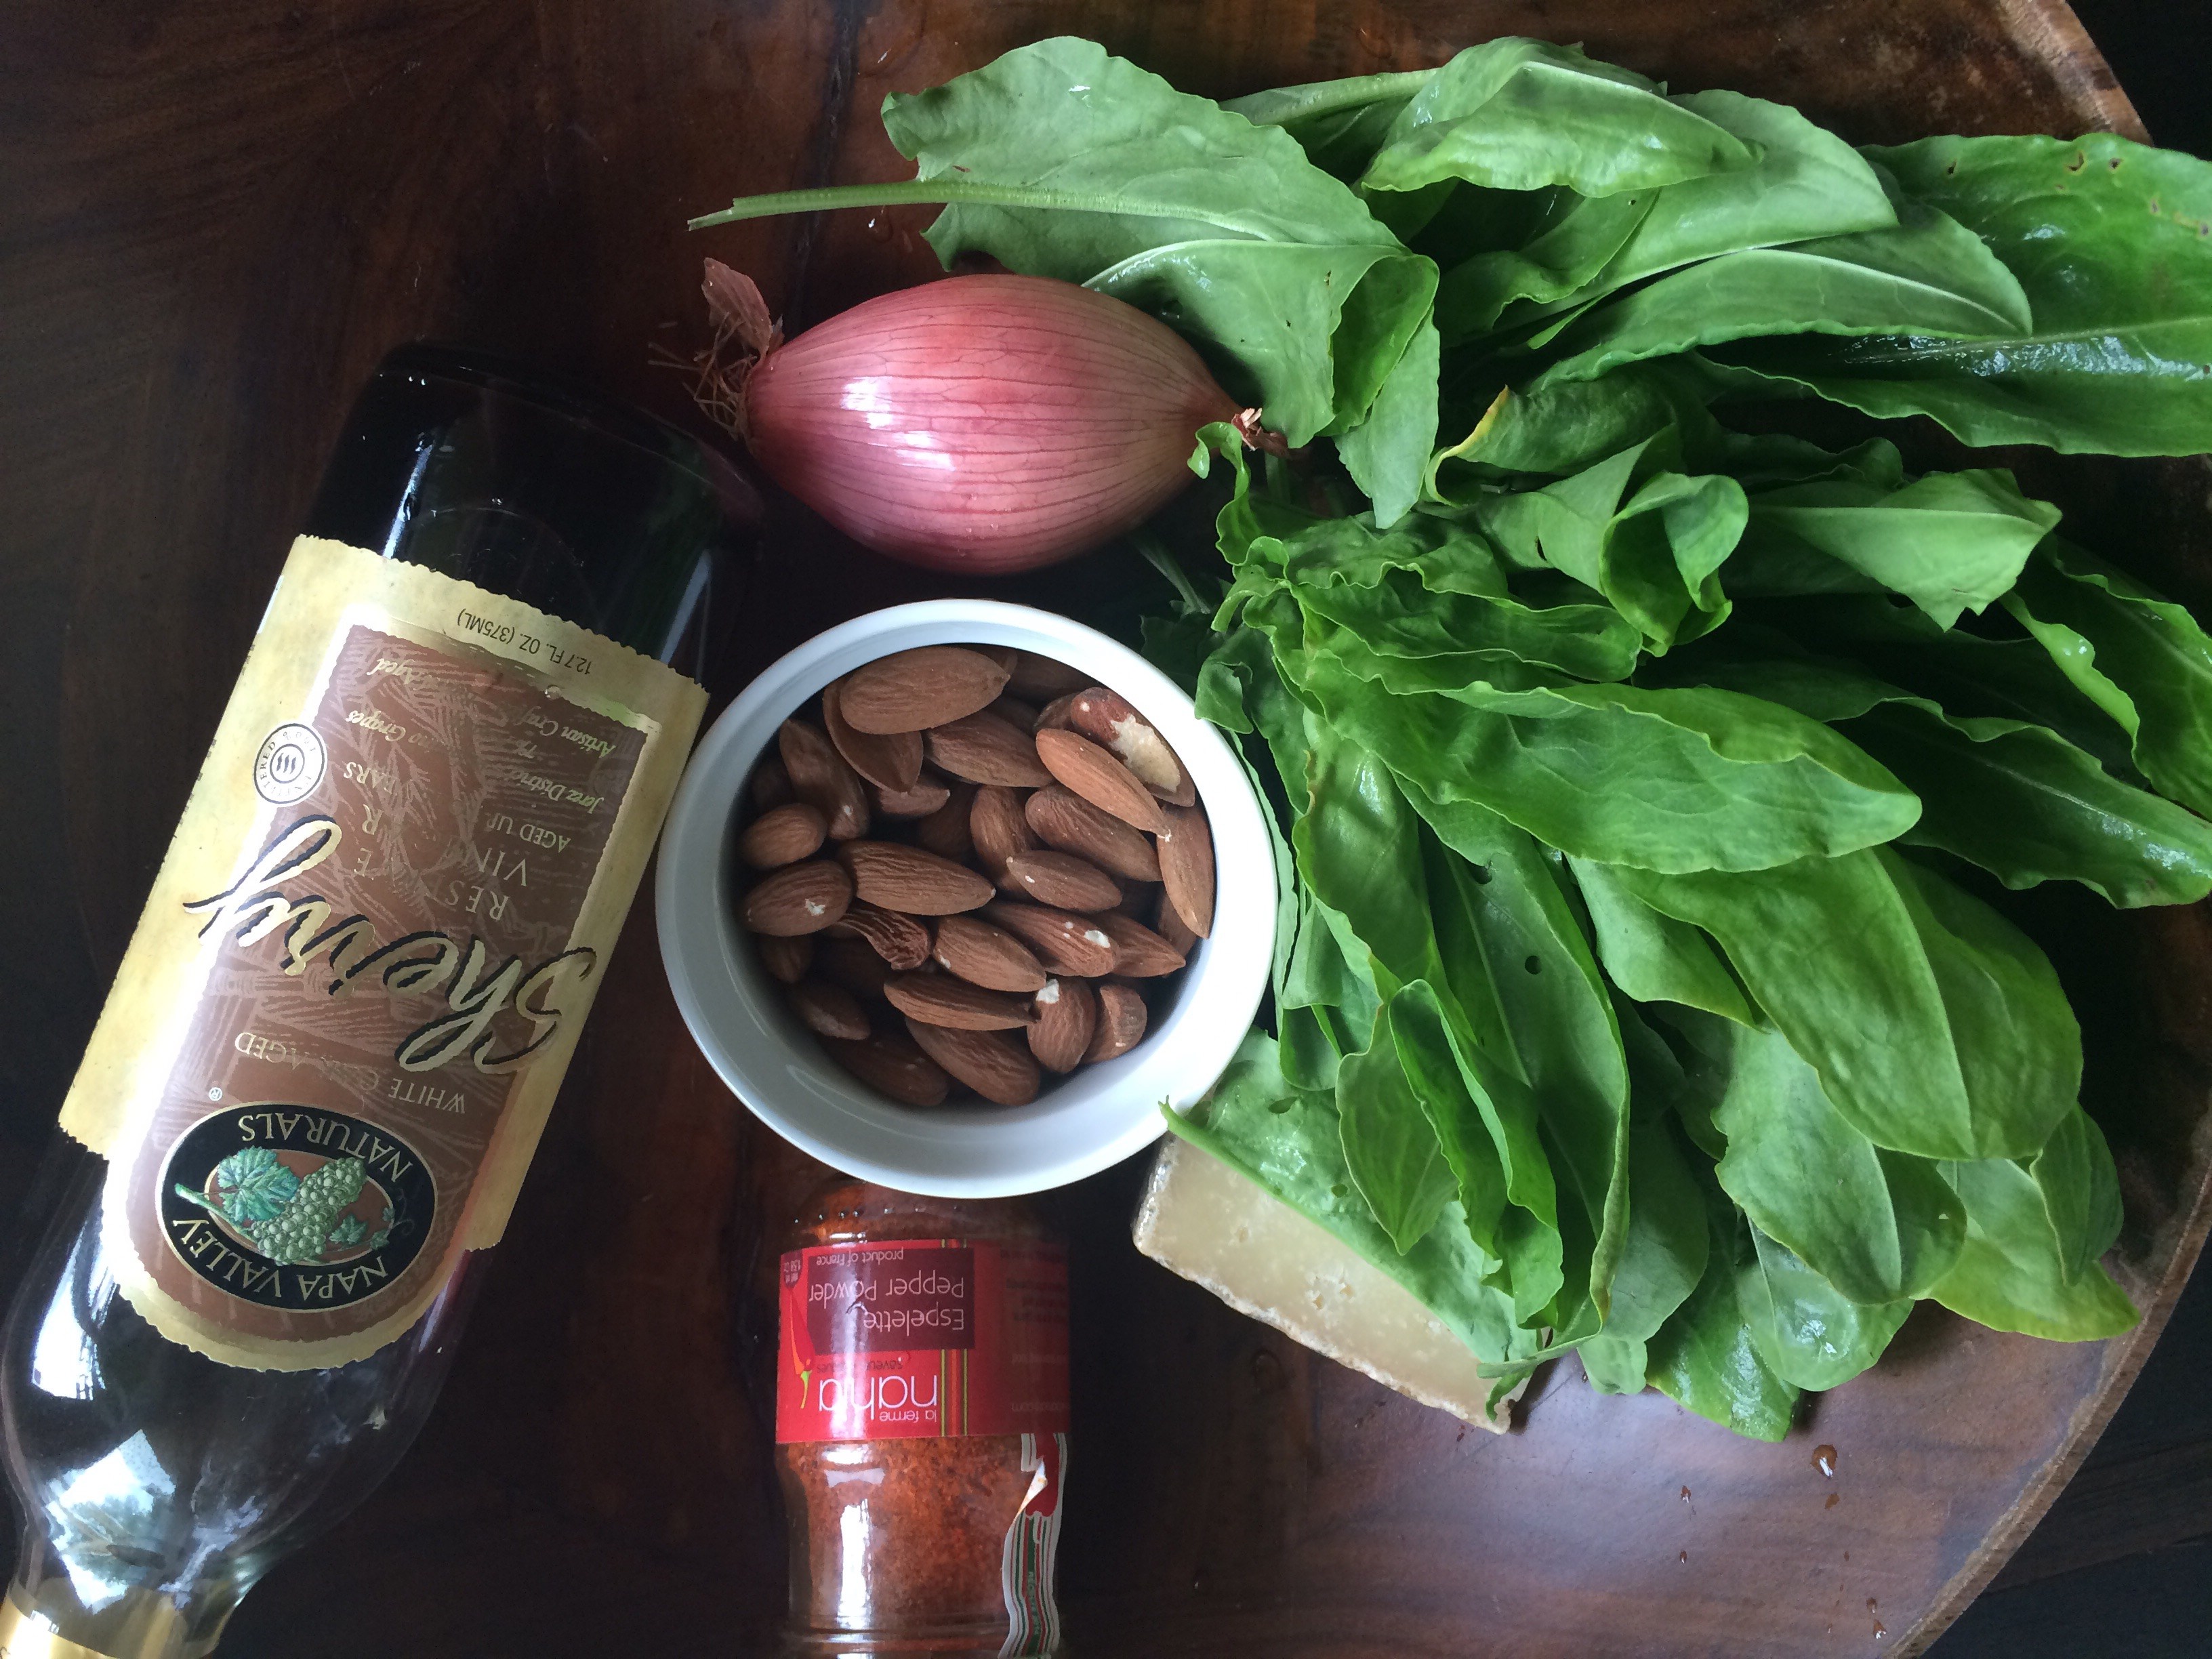
I’ve also tried ‘pickling’ carrots, green beans (steam for 5-10 minutes), radishes, shallots and red onion. Pickling the shallots, radishes and red onion are a great way to tame their strong flavor! They sweeten right up and can be easily enjoyed as a topping for salads, sandwiches, tacos, etc. they will keep in the refrigerator for up to 3 weeks!

Pickled Beets, Cucumbers, Shallots and Such!
A quick and easy way to make use of the abundance of summer veggies!
Write a review
Print
Prep Time
10 min
Total Time
30 min
Prep Time
10 min
Total Time
30 min
Ingredients
  1. any combination of the veggies,
  2. 1-4 Beets, cleaned, peeled and sliced
  3. 1-2 Large Cucumbers, peeled and sliced
  4. 1-2 Shallots, sliced thinly
  5. 5-8 Radishes, cleaned and sliced
  6. Fresh herbs of your choice
  7. Basil, chives, garlic, thyme, etc or a spoon of pesto
  8. 1-2 cups of vinegar (just enough to submerge half of the veggies
  9. 1 TBS Honey or Sugar
  10. 1 tsp of salt to taste
  11. Large Mason Jars
Instructions
  1. Prepare veggies by cleaning, peeling (if needed) and slicing. Add veggies to a mason jar, along with selected herbs, sweetener and salt. If you are steaming veggies, they can go directly into the mason jar, hot. Add enough vinegar to fill the jar halfway. Close the lid and shake well. lay the jar on its side in the refrigerator, making sure to rotate the jar every few hours to evenly soak. for best results, soak overnight, but cucumbers generally take 30 mins! Store in the refrigerator for up to 3 weeks!
Relish it http://relish.guru/

Pesto 101

I absolutely love pesto! I fell in love with it years ago as an easy condiment to keep in the fridge to use and nibble on throughout the week. It’s tasty, easy to make and it’s adaptable! The most basic version of pesto is basil, pine nuts, garlic, Parmesan cheese, EVOO and a pinch of salt (I add a bit of balsamic vinegar, as well)! I quickly found myself adapting the basic recipe, mostly because I was missing one ingredient or another. The best part about creating your own pesto, is that THERE IS NO RECIPE NEEDED! Just a simple combination of your favorite ingredients, a blender or food processor, and you are set!

A jar of homemade pesto!

Here is what you need to make your own, personal style of “pesto”:
-Any kind of greens or herbs or combinations of the two (basil, cilantro, mint, tarragon, thyme, kale, spinach, etc).
-Any kind of nuts (pine nuts, almonds, pepitas, macadamia nuts, cashews, hemp seeds, etc).
-An allium (garlic, shallot, onion, scallions).
-Any kind of hard cheese (feta, cotija, Parmesan, manchego).
-An acid to add flavor and retain color (vinegar, lime or lemon juice).
-Extra flavor additions (olives, capers, peppers, chilies, etc).
-EVOO (extra virgin olive oil)
-Salt

Once you get familiar with the flavor combinations you like, you can perfect the ratios of each ingredient. I love my pesto, super nutty and chunky, so I hardly use any oil and I just pulse the ingredients together, lightly. Sometimes I have tons of extra greens on hand, so I’ll make the pesto more green, with hardly any nuts. Macadamia nuts and cashews, are very rich and creamy on their own and do not require any cheese. These are great to use if you want to make a DAIRY FREE pesto. You really can’t mess this up! If you need extra flavor, add more acid, salt or cheese. Just play around with it!

Unlikely pesto ingredients....surprise yourself!
Unlikely pesto ingredients….surprise yourself!

Here are examples of some of the pestos I made this week! This pesto was made as a seasoning for some grilled chicken and shrimp. It’s really light and simple! No cheese or nuts were needed:) I guess it’s more of a paste, than a pesto:) I used leftovers to make a yummy salad dressing and to add a dash of flavor to my eggs:)

Salad greens
Lemon
Garlic
Thyme
Chives
Red pepper flakes, EVOO, salt

This pesto was made from the abundant supply of fresh and unfamiliar herbs I received from our CSA box this week:) (Be sure to remove the thick stems on the thyme, as best as you can, using just the leafy greens!) This pesto came out super lemony and fresh tasting. It would be perfect simply tossed into some fresh pasta, but being gluten free, I have my own plans! It will be used as a marinade for seafood later this week, added to tuna salad and used as a base for a tasty vinaigrette.

Making use of all of my summer greens

Thyme, Thai basil, Chives
Lemon
Purslane (a lemony succulent)
Macadamia nuts, Parmesan cheese
EVOO, salt

This pesto is Spanish inspired, with extra vinegar and tons of flavor. It is much richer in flavor. I’ll use it as a marinade for beef or pork, add it to a quinoa salad for extra flavor and use it as a base for a tomato salad dressing.

Spanish pesto ingredients!

Kale
Shallot
Almonds
Manchego cheese
Sherry vinegar, EVOO
Espelette pepper powder, salt

As you can see, the combinations are endless! Have i inspired you to give it try? Make sure and let me know what you create! I’m going to experiment with using root vegetables next! Stay tuned….

Lime and Oregano Shrimp


During the hot summer months, I’m constantly craving light and healthy meals that are full of flavor. Seafood is my go to protein during these days! Unfortunately, I tend to get into a rut of just using lemon or pesto and salt and pepper (yes, I do get lazy, at times). So, I’m always working on incorporation new ways of adding flavor and interest to my grilled seafood dishes. I just came home from the farmers market with some fresh oregano, garlic and Spring onions, so I decided, this would be the inspiration for a new marinade. 

How's this for inspiration?!
How’s this for inspiration?!

To my Vitamix, I added a handful of oregano, a whole Spring onion, a lot of lime juice, EVOO, smoked paprika and salt. I blended it for about 30 seconds or so, noticing the gorgeous orange color developing, before my eyes! This is going to be good:))

Love the orange hue and it smells amazing!

So, I decided to test out the marinade separately, on chicken thighs and on some large Mexican shrimp (shells removed and deveined). They both marinated, overnight.

Marinate overnight for best results!


We barbecued the chicken first. The chicken turned out super tender and moist (mostly due to my rockstar husband and his awesome BBQ skills)! Unfortunately, I was surprised that the chicken didn’t take on as much lime and herb flavor as I was hoping:(

So, I decided to give the shrimp a try. I threw them into a hot pan to make sure that they got nice and brown. 2-3 minutes on each side and they were done! And the flavor?! So yummy! All of the flavors soaked in perfectly. We had some leftover corn, so I decided to use it as a yummy accompaniment.

Grilled corn

 I carefully removed the corn from the cob and added some chimichurri infused butter (made with grass fed, salted butter) to the pan. 

My kitchen smelled so good at this point. The sugars in the corn, mixed with the butter, to make sticky, tasty, charred bits. At the last minute, I decided to add in a handful of greens. I used mizuna, but any green will do. It’s an easy way to add more nutrients and gorgeous color to the meal;) 

To plate the meal, I spooned the corn onto the plate and nestled the shrimp into it. A bit of sprinkled cotija cheese and paprika added the perfect amount of extra seasoning! I can’t wait to make this again!


Lime and Oregano Grilled Shrimp
A zesty marinade for shrimp and seafood:)
Write a review
Print
Prep Time
10 min
Total Time
10 min
Prep Time
10 min
Total Time
10 min
Ingredients
  1. 1 pound of shrimp
  2. 1 cup EVOO
  3. 1/2 cup fresh lime juice
  4. 1 Tbs salt
  5. 1 tsp smoked paprika
  6. 1/2 cup fresh oregano
  7. 1 small Spring onion or shalllot
  8. 1 1/2 tsp cumin
  9. 1 clove of garlic
  10. 4 cooked corn cobs (optional)
  11. 2 TBS of salted butter (add a few spoonfuls of chimichurri sauce, if you have it made)
  12. 1 handful of greens
  13. 1/4 cotija cheese to garnish
  14. 2 sprinkles of paprika to garnish
Instructions
  1. Place all ingredients (except shrimp) into Vitamix, blender or food processor. Blend well, until all ingredients are fully incorporated! Cover shrimp completely. Marinate overnight for the best results!
Relish it http://relish.guru/

Balsamic Tomato Jam

One of my favorite summertime indulgences is a vine ripened tomato. Unfortunately, we don’t get the best that our local farmers offer, until later in the season. I keep buying tomatoes and getting disappointed. They just aren’t so good, quite yet. 

They look so pretty....
They look so pretty….

So I needed to come up with a way to use all of these tomatoes! I’ve always loved the bold and zesty flavors of sundried tomatoes. They are a household staple, always providing an instant burst of flavor, to an otherwise, dull meal! So I came up with a way to capture this zesty flavor, in a spreadable, adaptable ‘jam’. 

I sliced my tomatoes into quarters, added a little olive oil to my sauce  pan, heated the pan to medium heat and tossed the tomatoes with a hefty pinch of salt. I stirred, every few minutes, as the heat broke down the tomatoes. This is what they looked like after 10 minutes….

Reduced tomatoes

At this point, I added 2 small spring onions, sliced thinly. You could add any onion or even a clove of garlic. I decided that I really wanted to rely on flavor of the tomato, so I kept it simple!


Beautiful, local, Spring onion!

So, I continued to let the tomatoes simmer for another 10 minutes. As the liquid cooks off, you can smell the concentrated scent of the tomatoes. You have to be patient and really get these cooked down, or else you’ll just end up with tomato sauce! 10 minutes later, I added some balsamic vinegar for added flavor and depth of color. And some fresh basil, thinly chopped. The fresh basil compliments the tomato flavor perfectly. Salt to taste.

Balsamic vinegar added
Fresh basil!
Fresh basil!

Keep stirring! You’re almost there! In these last 10 minutes, the color really intensifies, the onion is breaking down and the liquid is almost completely gone. Give it a taste! Add more salt, if needed. Reduce heat, to avoid burning. Cook down so it looks like this….

Looking good!
Looking good!

At this point your jam should be tangy, flavorful and thick. I immediately used it as a condiment for a savory crepe, adding crumbled goat cheese, roasted asparagus and topped with some local greens! Pure heaven! Feta would also pair nicely with tanginess of the tomato.

You can't see it, but the crepe has tomato jam on it!
You can’t see it, but the crepe has tomato jam on it!

As the week progressed, I experimented with using the jam in other ways. I used it as the base for a yummy salad dressing. Super simple and delicious! But, the best use is as a condiment for a wrap or sandwich. 

Prosciutto wrapped asparagus:)
GF crepe with tomato jam, roasted asparagus and prosciutto

We enjoyed it all week long! It stores well in the refrigerator for about a week….but it won’t last that long;)

Yumminess in a jar!
Yumminess in a jar!


Balsamic Tomato Jam
Yields 1
An easy way to use up tomatoes that aren't quite ripe;)
Write a review
Print
Prep Time
5 min
Cook Time
50 min
Prep Time
5 min
Cook Time
50 min
Ingredients
  1. 4 tomatoes
  2. 2 tbs EVOO
  3. 1/4 cup balsamic vinegar
  4. 2 small spring onions or 1 small shallot
  5. 1/4 cup of fresh basil chopped
  6. Salt to taste
Instructions
  1. Quarter tomatoes. Add EVOO to small sauce pan and heat to medium. Add tomatoes and a hefty pinch of salt. Get tomatoes to simmer for 10 minutes, stirring occasionally. Add spring onion. Continue to simmer for another 10 minutes. Add balsamic vinegar and basil. Salt to taste. Continue to reduce, for 10-20 more minutes, lowering the heat if needed. remove from heat, once the flavor is to your liking and the jam is nice and thick. Salt as needed.
Notes
  1. Can add a clove of garlic or other herbs for a change in flavor! Use it as a sandwich spread, a garnish for a cheese plate, a base for salad dressing, etc! Keeps in the refrigerator for a week. Enjoy!
Relish it http://relish.guru/

Chimichurri Sauce

So much gorgeous summer produce, so little time! Here is a recipe for something a bit different than the average summer pesto! It’s fast and easy to make and you can enjoy it all week long, In a variety of dishes:))  It’s a beautiful green sauce called chimichurri! Have you tried it?! It’s very tangy! It’s a bit garlicky! It’s not too spicy! It’s adaptable!

Yummy!
Yummy!


Originating from Argentina, chimichurri is used as a condiment with grilled steak, chicken and seafood. Traditionally, it is made of finely-chopped parsley, minced garlic, olive oil, oregano, and white vinegar. In Latin American countries outside of Argentina, Paraguay and Uruguay, the dominant flavoring is parsley, garlic, red pepper flakes and fresh oregano.

Odds and ends from the farmers market!

I didn’t have some of the traditional ingredients, so I improvised;). In addition to the vinegar, I added a squeeze of lemon juice. Instead of parsley, I used a new green that I discovered at the farmers market called mizuna. It’s in the same family as dandelion greens and has a light, peppery flavor. Really, most greens would work here. So experiment with you favorite:) In addition to the garlic, I added a couple small spring onions. I also added some cilantro and arugula. Other than those changes, it’s pretty close to a traditional chimichurri….but better!

Ready to blend!
Ready to blend!

Place all ingredients into food processor and blend with EVOO and salt to taste. That’s it! You are done. Store in a mason jar, the fridge for up to 5 days! Besides grilled meats, the chimichurri can be used on top of eggs and makes an incredible base for salad dressings. Enjoy!


Chimichurri Sauce
A tasty, tangy, garlicky sauce to amp up the flavors of your next BBQ!
Write a review
Print
Prep Time
5 min
Total Time
5 min
Prep Time
5 min
Total Time
5 min
Ingredients
  1. 3 cups of your favorite greens (parsley, mizuna, arugula, etc)
  2. 1 cup fresh cilantro
  3. 2 small garlic cloves
  4. 1/2 small shallot or 2 small spring onions
  5. 1 TBS crushed red pepper flakes
  6. 1/4 cup red wine vinegar
  7. 1/2 lemon juiced
  8. 1/2 cup EVOO
  9. Salt to taste
Instructions
  1. Blend all ingredients in food processor! Store in refrigerator for up to 5 days.
Relish it http://relish.guru/